Pool Perimeter Caulking: Essential Maintenance for Leak Prevention
Marko M
12th September 2025
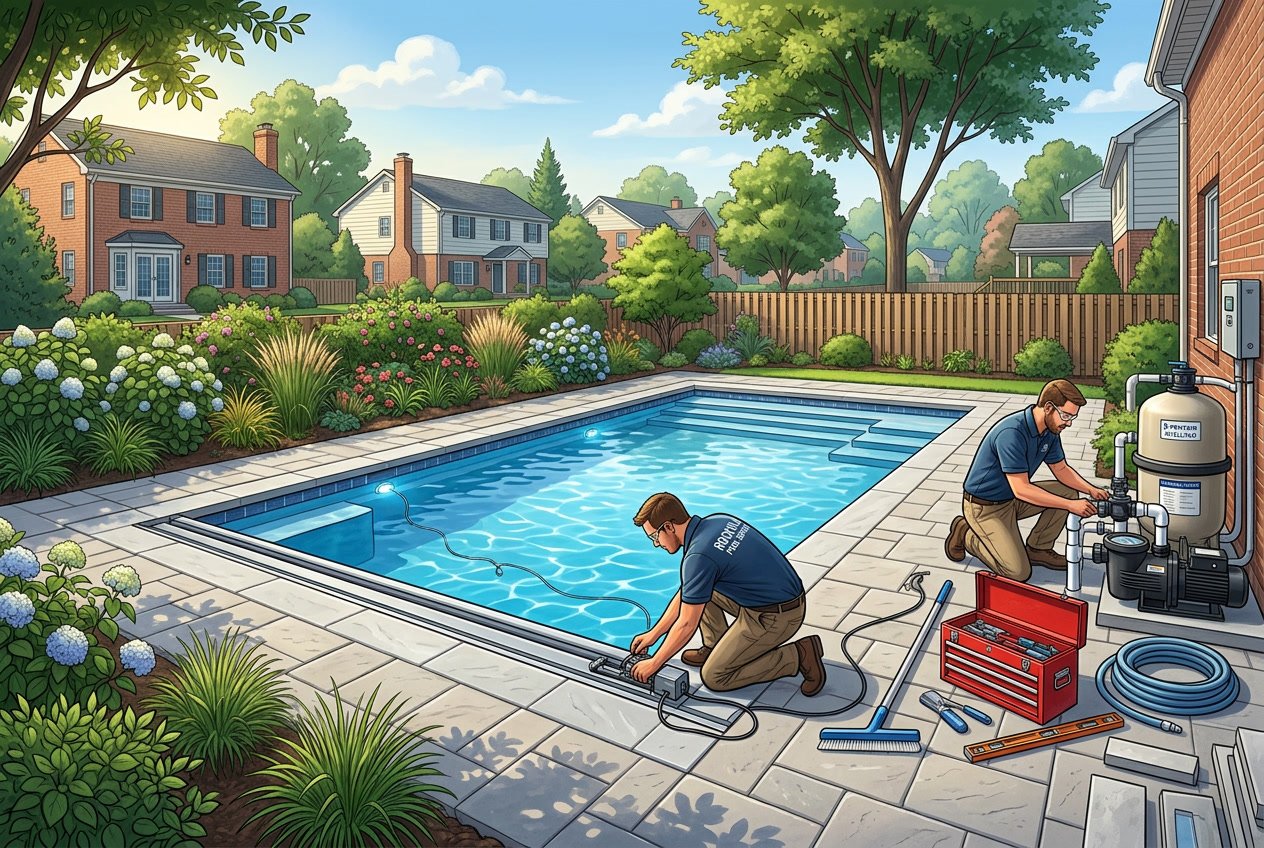
Pool perimeter caulking forms a protective barrier around your inground pool where the coping meets the deck. This narrow gap, called the expansion joint, lets your pool structure flex a bit as temperatures go up and down.
Skip the caulking, and water sneaks behind pool walls, causing expensive headaches with tiles, coping, and decking materials.
Pool perimeter caulking keeps water out from between pool walls and protects your investment from structural damage. We see so many pool owners forget about this basic maintenance until something goes wrong.
Cracked or missing caulk gives water an open invitation to places it really shouldn’t go.
Knowing when to replace pool caulking and how to do it right keeps your pool’s structure solid for years. The process isn’t rocket science, but it does mean yanking out old caulk, prepping the surface, then applying new sealant with care.
If you check and maintain your pool’s caulking regularly, you’ll avoid a lot of headaches down the line.
Understanding Pool Perimeter Caulking
Pool perimeter caulking is the unsung hero sealing up the edge where coping meets deck. It keeps water out and helps the pool area stay strong and safe.
What Is Pool Perimeter Caulking?
Pool perimeter caulking is a flexible sealant that fills the expansion joint around your inground pool’s edge. That joint creates a narrow gap between the coping and the surrounding deck.
Why bother with a gap? Well, pool decks and walls expand and contract as the sun heats things up and cools them down. Without a little space, stuff cracks—simple as that.
Pool caulk usually comes in silicone or polyurethane. Both options stay flexible after curing, so the caulk can move with the pool as it shifts.
We always make sure to apply caulk around the entire perimeter where different materials meet. That includes the edges of concrete pools and other types.
When joints run deep, we set foam backer rods in first, then caulk on top.
Purpose and Benefits of Caulking
Pool caulking blocks water from sneaking between your pool walls and deck. Water infiltration is a slow disaster, eroding your pool’s foundation and causing all sorts of mess.
The flexible caulk can handle the daily dance of expansion and contraction. It bends, doesn’t break, and keeps gaps from forming in the first place.
With proper caulking, you protect:
Pool tiles from water damage
Coping stones from shifting
Pool deck from erosion
Foundation from slow water leaks
It also stops debris from piling up in the expansion joint. No leaves or dirt sneaking in makes cleaning easier and keeps things looking sharp.
Common Issues Without Proper Caulking
Let caulk go missing or deteriorate, and water will find its way behind the pool structure. That water washes away the soil under the pool deck and coping, and over time, things start to settle and shift.
You’ll spot loose or missing tiles, coping stones that move or crack, and decks that start to show cracks or hollow spots. Those hollow spots? They’re tripping hazards and can get pricey to fix.
If you’re in a colder climate, freeze-thaw cycles are brutal. Water gets in, freezes, expands, and cracks concrete or shifts stones out of place.
Common problems we see:
Loose or missing tiles
Shifted coping stones
Cracked pool decks
Soil erosion around the pool
Best way to avoid all that? Check your caulking, and don’t wait until the damage is obvious.
Key Components of Pool Caulking Systems
Pool caulking systems need three things: the right caulk, backer rod installed properly, and a few basic tools. Each plays a role in keeping your inground pool sealed up tight.
Types of Caulk Used Around Pools
Polyurethane caulk is hands-down our favorite for pools. It stays flexible through wild temperature swings and shrugs off pool chemicals.
Silicone-based caulk is another solid pick. It bonds well to concrete, tile, and stone, and it’s super water-resistant.
Acrylic caulk? Meh. It’s okay for small fixes, but it doesn’t last. We don’t recommend it for expansion joints.
Caulk Type
Flexibility
Chemical Resistance
Lifespan
Polyurethane
High
Excellent
5-7 years
Silicone
High
Good
4-6 years
Acrylic
Low
Poor
2-3 years
You want caulk that handles water, sun, and temperature swings. Cheap caulk lets water in, and that’s never good.
Role of Backer Rod in Expansion Joints
Foam backer rod is the unsung MVP of a good caulking job. We use it to fill the deep part of the joint before adding caulk on top.
The backer rod keeps the caulk from sinking too deep and makes sure it flexes instead of cracking.
Closed-cell foam backer rod is what we use—it doesn’t soak up water. Open-cell rods just cause problems down the road.
The rod should fit snugly, not jammed in, so the joint can move naturally and the caulk stays where it belongs.
Essential Tools for Application
A caulking gun is a must. Manual guns work fine for smaller jobs, but if you’re tackling a big pool, a battery-powered gun saves your hands.
Joint scrapers help get every bit of old caulk out. Clean joints mean new caulk sticks better.
Smoothing tools (or even a damp finger, honestly) shape the fresh caulk so water runs off instead of pooling.
We also use utility knives for cutting backer rod, wire brushes for cleaning, and clean rags for wiping up messes. The right tools make a huge difference in how the job turns out.
Step-By-Step Guide to Caulking the Pool Perimeter
We’ve got a routine for caulking inground pool perimeters: prep the surface, install backer rod, lay down the caulk with a gun, and finish it off cleanly. Each step matters if you want a watertight seal.
Preparation and Surface Cleaning
Start by cutting out all the old caulk with a utility knife or removal tool. Scrape out loose debris and any damaged stuff from the joint.
Scrub the joint with a wire brush—don’t skimp on this step. The cleaner the surface, the better your new caulk will stick.
Blow out loose particles with a leaf blower. You want a spotless joint before you start.
Let the joint dry completely. Any moisture will mess with the new caulk’s bond.
Check the joint’s width and depth. Most pool expansion joints are between 1/2 inch and 1 inch.
Applying Backer Rod
Pick a backer rod about 25% wider than the joint. That way, it fits snug and won’t slip down.
Push the backer rod into the joint with a putty knife. It should sit just below the surface at the right depth.
Aim for the caulk to be 1/4 to 3/8 inch deep on top of the rod. That’s the sweet spot for flexibility and durability.
Make sure the rod sits evenly all the way around. If it’s uneven, your caulk won’t look or perform right.
Don’t stretch the backer rod—it’ll try to shrink back later and mess up the seal.
Using a Caulking Gun for Application
Load your caulk tube into the gun. Cut the tip at a 45-degree angle, just a bit smaller than your joint.
Pop the inner seal with a nail or wire.
Hold the gun at a 45-degree angle and squeeze steadily as you move along the joint. Don’t rush, but don’t dawdle either.
Fill the joint completely, but don’t overdo it. The caulk should end up level with or just below the deck and coping.
Work in 10- to 15-foot sections. That way, the caulk stays workable for smoothing.
Finishing and Tooling Techniques
Smooth the caulk right after applying it, using a tool or your finger. Try for a nice, concave shape that sheds water.
Wipe away any excess with a damp rag before it starts to cure.
Try to smooth each section in one go. Too many passes can leave it looking lumpy.
Let the caulk cure as the manufacturer says—usually 24 to 48 hours before you let water near it.
Check your work for gaps or voids before it sets. Touch up small spots while the caulk’s still soft.
Maintenance and Inspection of Pool Perimeter Caulking
We recommend checking your inground pool’s caulking twice a year. Catching issues early saves you a ton of hassle and money.
Signs Caulking Needs Replacement
Cracks are a dead giveaway that caulking has failed. If the caulk splits and doesn’t seal the joint, it’s time for new stuff.
Shrinking caulk pulls away from the deck or coping, leaving gaps where water can sneak in.
Discoloration—think moldy or green spots—means moisture is getting in. That’s usually a sign you need to act fast.
Loose caulk comes out with a light touch. If debris collects in the gaps, maintenance gets harder and water gets in.
Watch for:
Cracks longer than 2 inches
Gaps between caulk and surfaces
Caulk that feels soft or spongy
Missing sections
If you spot any of these, don’t wait. Replacing caulk is way cheaper than fixing water damage.
Routine Inspection Tips
Check caulking in the spring before you open the pool. Winter can be rough, especially where it freezes.
Walk slowly around the whole pool. Look closely at every foot of the expansion joint.
Good lighting helps—sometimes you need a flashlight to spot small cracks.
Make sure water drains away from the pool deck. Standing water puts pressure on the caulking and wears it out faster.
Replace caulking every 3-5 years as part of your routine. It’s way cheaper than surprise repairs from water damage.
Choosing the Right Products and Professionals
Picking the right caulking materials for your inground pool is key. You want stuff that stands up to water, sun, and years of use.
Thinking about doing it yourself or calling in the pros? That choice affects both your wallet and how long the job lasts. If you’re unsure, we at Dolphin Pool Services are always happy to help or answer questions.
Selecting Quality Pool Caulking Materials
If you own a pool, you really want caulking made for swimming pool environments—not just any household stuff. Regular caulks break down fast with chlorine and all that moisture.
We’ve found that silicone-based sealants work best for most inground pool setups. They stay flexible when temperatures swing and don’t give up when hit with pool chemicals.
Polyurethane sealants? They’re great for concrete and stone. The bond is super strong, but honestly, applying them can be a bit tricky if you’re not used to it.
We like TEC brand products for pool caulking jobs. Their formulas work in both fresh and saltwater pools, which is a nice touch.
When you’re picking caulk, look for a few things:
100% waterproof
UV resistant
Stands up to chlorine
Still flexible after curing
Mold and mildew resistance
Skip anything labeled “for interior use only.” Those cheap options just can’t handle outdoor pool life.
When to DIY vs. Hire a Professional
Straight-line caulking around a rectangular inground pool? That’s a solid DIY project for most folks. You’ll need a caulking gun and a couple smoothing tools.
DIY works when:
Joints are straight and easy to reach
Pool’s a simple geometric shape
You’ve done caulking before
You’ve got time to prep the surface right
But if your inground pool has curves, fancy tile, or damaged edges, it’s probably time to call a pro. Those details need special skills.
Pros show up with commercial gear and know-how. They can spot bigger issues that might be causing your caulk to fail.
Costs can swing a lot. You might spend $50-150 on materials for a DIY job, but professional work usually runs $300-800, depending on how big or complicated your pool is.
If your pool’s got lots of cracks or old repairs that didn’t hold, it’s better to bring in the pros. Sometimes you need substrate repairs before you even think about new caulk.
Frequently Asked Questions
We get a lot of questions about caulking inground pools—people want to know about techniques, materials, and when to call for help. Here are some of the most common ones we hear at Dolphin Pool Services.
What is the recommended procedure for caulking a pool expansion joint?
Start by pulling out all the old caulk from the expansion joint. Scrape away every bit of the damaged stuff and clean the area well.
Make sure the joint’s bone dry before you start. If there’s moisture, the new caulk won’t stick and will fail early.
Drop in a foam backer rod first. This sets the right depth and keeps the caulk from sinking too far down.
Use a caulk gun to lay down pool-grade caulk in one smooth pass. Fill the joint, but don’t let it spill over the edges.
Wipe the line with a damp cloth within ten minutes. That gives you a clean look and a good seal.
How does underwater pool caulking differ from regular pool caulking?
Underwater caulking needs special materials that actually cure underwater. Regular caulk just won’t bond if it’s submerged.
You’ll need different tools, and sometimes even divers, for deep repairs. It’s a whole different process.
Underwater sealants take longer to cure. Usually, you can’t use your pool for 24-48 hours after applying.
They cost more than standard caulk, but if you need it, there’s really no substitute.
Which brand of caulk is best suited for sealing pool coping?
Always go with pool-specific caulks—they’re built to handle chlorine, UV rays, and constant splashing. Household stuff just doesn’t last.
Polyurethane-based sealants are super flexible and tough. They move with your pool deck as it expands and contracts.
Silicone caulks are decent for many pool jobs, but honestly, they might not stick as well to concrete as polyurethane does.
Your pool contractor or the local supply store can point you to the best brands for your area. They know what works with the local climate and typical inground pool builds.
What are the ideal conditions for applying deck-o-seal pool caulking?
Temperature matters—a lot. Most caulks go on best between 40 and 90 degrees Fahrenheit.
You want things dry for curing. If it rains or gets humid within a day, you risk ruining the seal.
Wind can mess with your application, so pick a calm day if you can. You’ll get a much neater finish.
Early morning or late afternoon usually works best. Extreme heat? That just makes the caulk harder to handle.
Surface temp counts too. Hot concrete can make the caulk skin over too fast.
How do I find professional pool caulking services in my area?
Most local pool contractors, like us at Dolphin Pool Services, offer caulking for inground pools. We know the codes and what the weather throws at your pool.
Pool supply shops usually have lists of recommended contractors. They see who does good work.
Online directories can help you find pool maintenance specialists nearby. Reviews from other pool owners can tell you a lot about quality.
Swimming pool associations sometimes have referral lists, too. They keep tabs on who meets their standards.
It’s smart to get a few quotes. Make sure the service provider spells out what materials they’ll use and what you’re paying for.
Can sikaflex be used for pool caulking, and if so, how does it perform?
We’ve worked with Sikaflex quite a bit at Dolphin Pool Services, especially when it comes to inground pools. Sikaflex makes several products, but not every type they offer is great for wet or submerged environments.
The polyurethane-based Sikaflex caulks really shine around pools. We’ve seen them stick well to both concrete and stone, which are pretty common surfaces for inground pools.
They hold up against chlorine and sunlight, which is crucial. You don’t want your caulk breaking down after one hot summer.
Sikaflex isn’t the cheapest option out there. That extra cost usually gets you better durability and performance, though.
When we run into tricky pool jobs, we usually reach for Sikaflex. They’ve got enough variety in their lineup for different pool surfaces and situations.
Get your pool in perfect shape today!
Ensure your pool stays in peak condition with the expertise of our professional, certified operators. We provide top-quality service to keep your pool clean, safe, and well-maintained year-round. Contact us today through our online form to schedule best pool services!