When the temperature drops and leaves start piling up, we know it’s time to get serious about winterizing our pool. If you don’t prep for winter, you’re asking for cracked pipes, busted equipment, and a spring mess that’ll drain your wallet.
Pool winterization means shutting down the system, balancing the water, and throwing on a solid cover to keep freeze damage at bay. If you skip these steps, you’ll probably regret it come spring—trust us, we’ve seen it happen too many times.

Winterizing an inground pool the right way is a bit of a process: clean like crazy, balance the water, toss in winter chemicals, and lock everything down with a proper protective cover. The details might shift a little if you’ve got an above-ground pool, but the basics are pretty universal.
We’ve learned over the years that skipping winterization just leads to headaches and bills.
Knowing the right tools and timing makes the whole thing less overwhelming. You’ll need some patience, a few specific chemicals, and a bit of elbow grease to keep your pool happy until warm weather rolls back around.

Timing, cleaning, and water level—these are the big three for a safe winter shutdown. If you nail these, your equipment’s going to thank you next spring.
Start thinking about closing your pool when the water drops below 65°F and stays there. That’s when algae stops growing and your winter chemicals actually work.
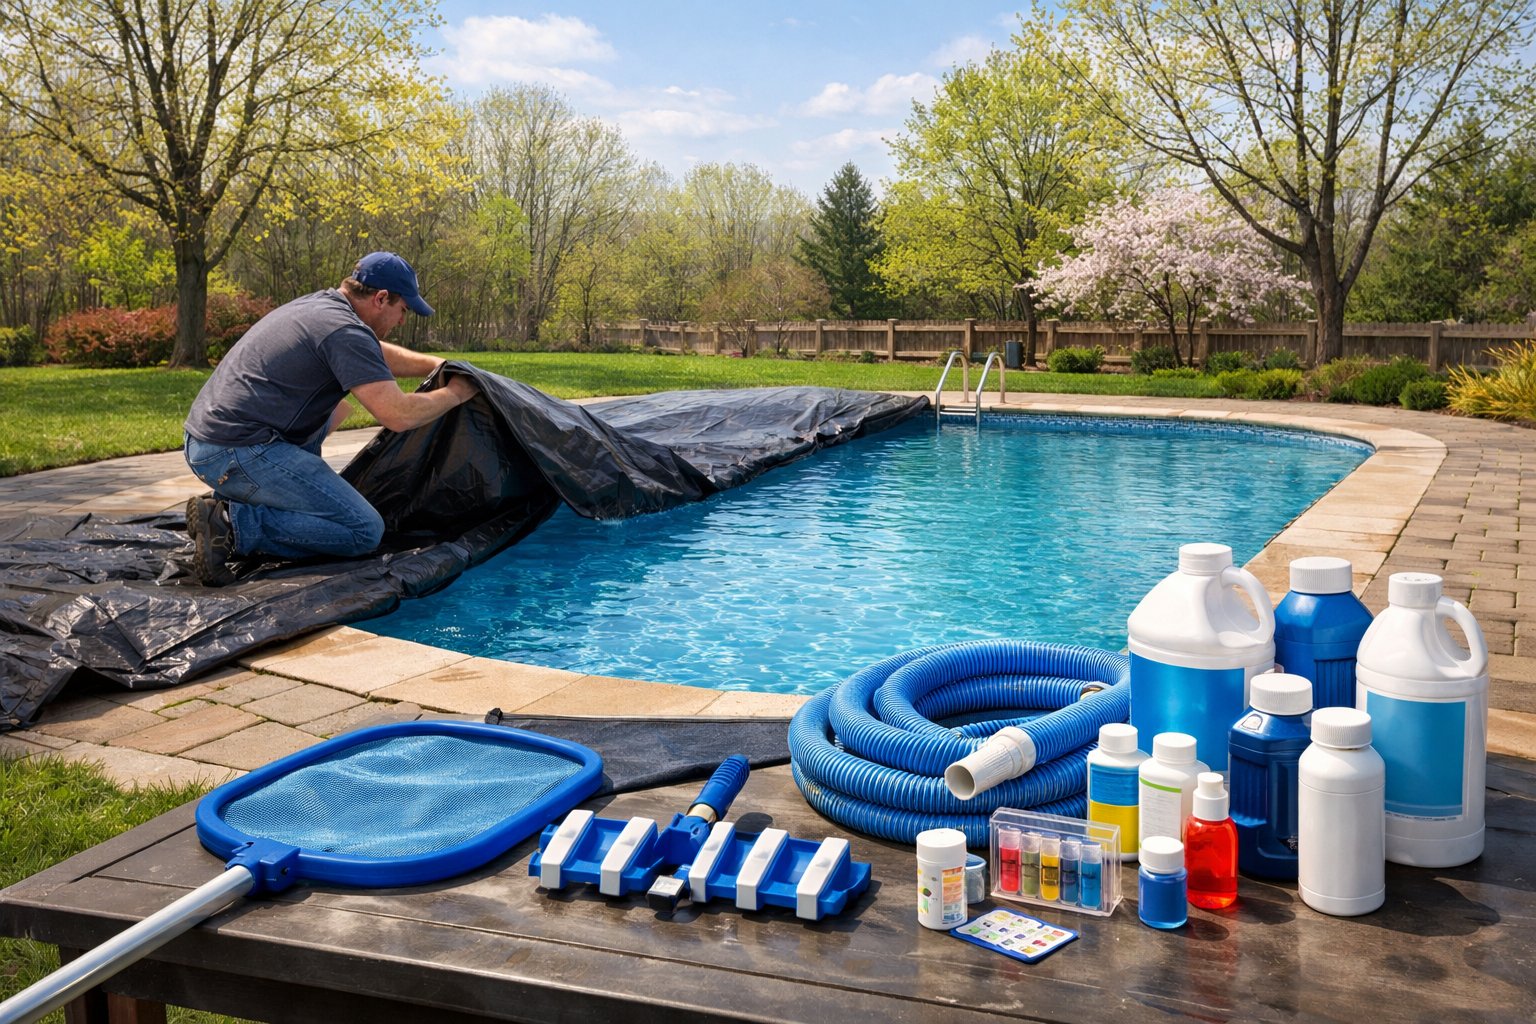
Gather your stuff before you start: a pool vacuum (manual or automatic), a submersible pump, shop vac, and a pool brush. It’s a pain to run back and forth for missing gear.
Essential Equipment Checklist:
Pick a calm, mild day—wind just makes everything harder. You’ll want to set aside two days so you’re not rushing and missing steps.
Start by skimming out every leaf and chunk of debris you can see. The less junk left behind, the less trouble you’ll have later.
Scrub down the walls, steps, and corners with a pool brush. Don’t skip the spots where algae likes to hang out.
Cleaning Sequence:
Vacuum thoroughly—don’t just do a quick once-over. Get the filter clean, too, or your chemicals won’t circulate right.
Lowering the water is key so your skimmers and return lines don’t freeze and crack. For most inground pools, drop the water 18-24 inches below the skimmer.
If you’re in a mild climate, you might get away with 12-18 inches. Use a submersible pump to keep things under control—don’t overdo it or you’ll mess with your pool structure.
Water Level Guidelines:
After you hit the right level, blow out the plumbing lines with a shop vac or air compressor. This step’s a little tedious, but it’ll save your pipes.
Plug up the return lines and skimmer openings so water doesn’t sneak back in and freeze.

Balancing the water isn’t just for show—it keeps your pool surfaces and equipment safe all winter. Focus on pH, alkalinity, stabilizer, and calcium hardness.
Aim for a pH between 7.2 and 7.6 before shutting things down. Alkalinity should land between 80-120 ppm, or you’ll be chasing pH swings.
Colder water slows everything down, but don’t let that fool you—bad balance can still cause problems.
Recommended Winter Levels:
If your alkalinity’s low, add sodium bicarbonate slowly and check levels as you go. Get alkalinity right first, then tweak the pH.
Keep cyanuric acid (stabilizer) between 30-50 ppm for winter. It shields your chlorine from the sun, but too much makes chlorine useless.
If you’ve got a cover, you don’t need as much stabilizer. If your levels are high, you’re kind of stuck—dilution is the only real fix.
Key Cyanuric Acid Facts:
Test your stabilizer and adjust your chlorine type if needed. Unstabilized chlorine works better if you’re already high on cyanuric acid.
For inground concrete pools, keep calcium hardness at 200-400 ppm. Vinyl pools can go a little lower, around 150-300 ppm.
Low calcium makes the water “hungry,” which can eat away at your surfaces. Too much, and you’ll get scale all over everything.
Target Calcium Hardness Ranges:
If you need to boost hardness, add calcium chloride—just dissolve it first so you don’t get cloudy spots. Hard water areas might need some water swapped out before winter.
Check the calcium so you don’t mess up your saturation index. It’s a small step that saves big headaches.

Don’t skip the winter chemicals—they’re your last line of defense against algae and freeze damage. Timing and method matter.
Start with a good pool shock. We recommend chlorine-free shock for winterizing, since it won’t mess with your winter chemicals.
Shock the pool 3-7 days before you close it up. Do it in the evening so sunlight doesn’t burn it off. Run your pump for 8-12 hours after.
Wait a full day before adding anything else.
Next, pour in a strong winter algaecide. You’ll need about a quart for every 25,000 gallons.
Winter algaecide packs more punch than summer stuff. Add it after the shock is done, pouring it around the edges while the pump’s still running.
If you can’t get every drop of water out of your lines, use pool antifreeze. Only use propylene glycol-based stuff—it’s made for pools and won’t wreck your equipment.
Here’s how we do it:
| Step | Action | Amount |
|---|---|---|
| 1 | Drain skimmer lines | Until water stops flowing |
| 2 | Add antifreeze to skimmer | 1-2 quarts per line |
| 3 | Blow out return lines | Until antifreeze appears |
| 4 | Add antifreeze to returns | 1 quart per line |
Drain every bit of equipment—pumps, filters, heaters. Pull the drain plugs and toss them in the pump basket so you don’t lose them.

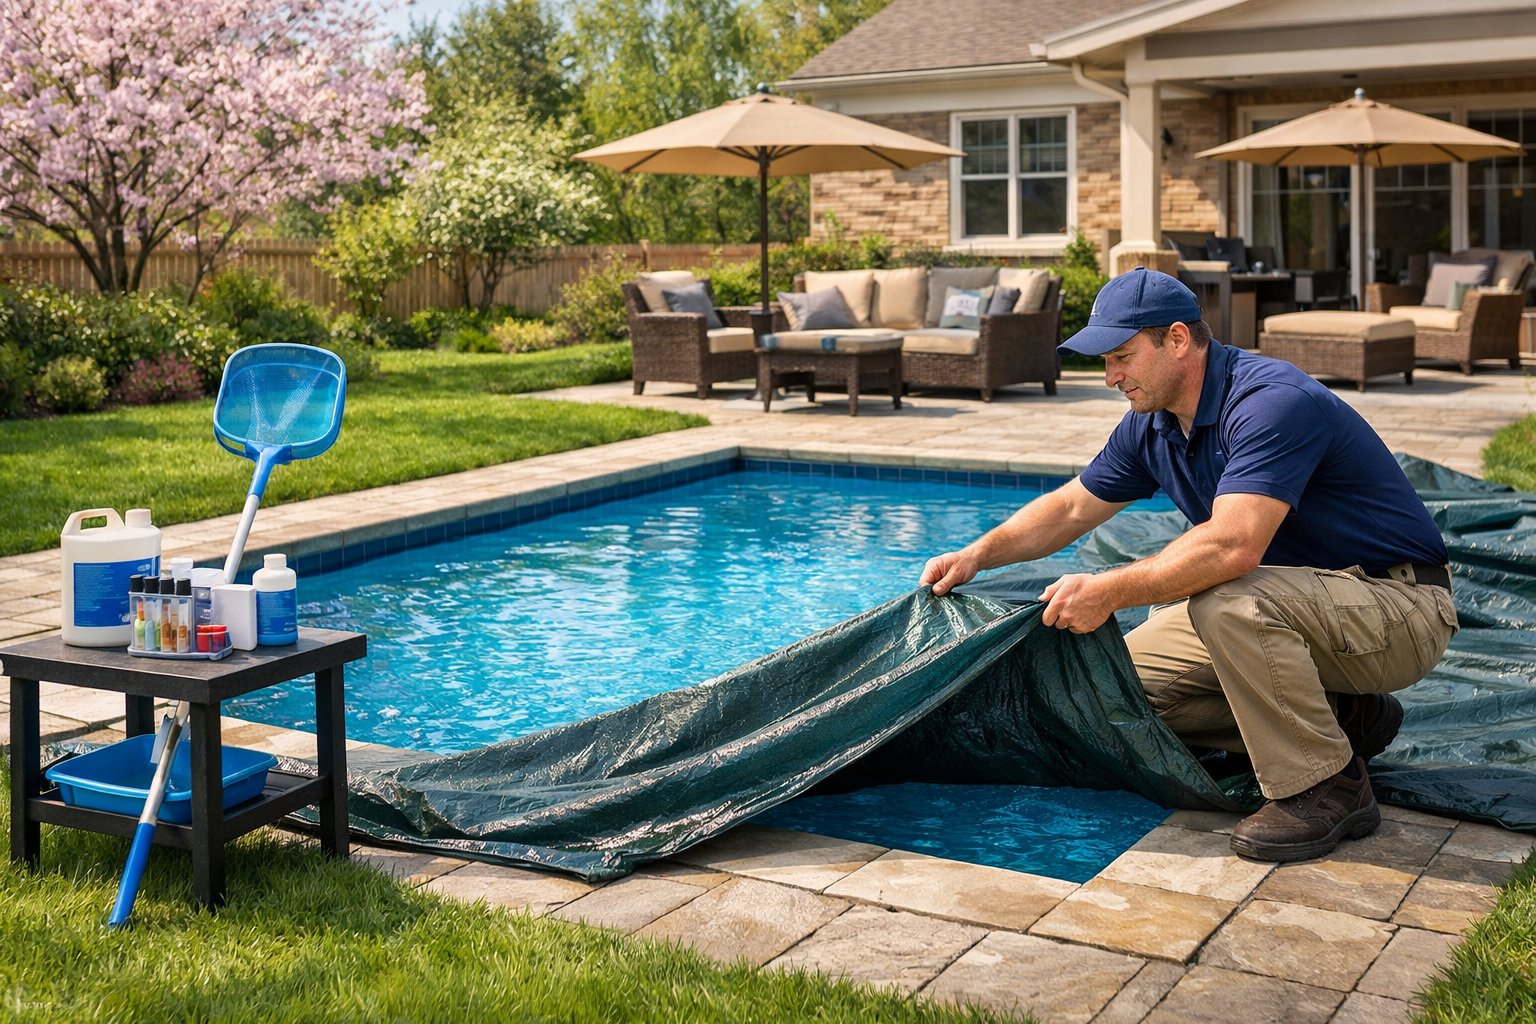
A good pool cover keeps out debris, saves you money, and protects your inground pool all winter. But only if you install it right.
You’ve got three main options for winter covers: solid, mesh, and automatic.
Solid covers block everything—no debris, no sunlight, no algae. You’ll need a pump to clear off rain and snow, but they’re worth it if you want max protection.
Mesh covers let water through but keep out big debris. They’re cheaper and easier to handle, but you might get some fine stuff sneaking in.
Automatic covers are the dream—just hit a button and you’re done. They’re pricey, but man, are they convenient.
Measure carefully, especially for odd-shaped pools. Inground pools need at least a 4-foot overlap on each side.
For inground pools, use water tubes to hold the cover down. Fill them about three-quarters full—never all the way, or they’ll burst if they freeze.
Above-ground pools usually get a cable and winch system. Thread the cable, tighten it up, and you’re set.
If you’ve got an above-ground pool, toss in a winterizing pillow before the cover goes on. It helps with the ice as things freeze and thaw.
Check your cover once a month. Sweep off leaves, pump off water, and replace any busted tubes right away.
When spring comes, clean and dry the cover before you stash it. It’ll last longer and be ready for next year.
You don’t need a hardware store’s worth of gear, but a few solid tools make all the difference. A good pool vacuum, a reliable pump, and a sturdy brush get you most of the way there.
We at Dolphin Pool Services have been through enough winters to know that cutting corners always costs more in the end. If you want help, or just want it done right, give us a shout.
We always recommend a good pool vacuum for clearing out debris and sediment from your pool’s floor before closing up for the season. Manual vacuums are solid for most pools, but if you’ve got a bigger inground pool, those automatic cleaners just make life easier.
You’ll want a telescoping pole with a few attachments. Brushes let you scrub algae off the walls and steps, while a leaf net makes it quick to scoop out floating debris.
Pool brushes come in a few different styles. Stainless steel works best for concrete pools, while nylon’s safer for vinyl or fiberglass.
If you’re fighting stubborn algae, a wire brush can help. Just be careful not to scratch up softer surfaces.
A skimmer net with fine mesh grabs those tiny particles that bigger nets miss. It’s smart to have both coarse and fine mesh options on hand.
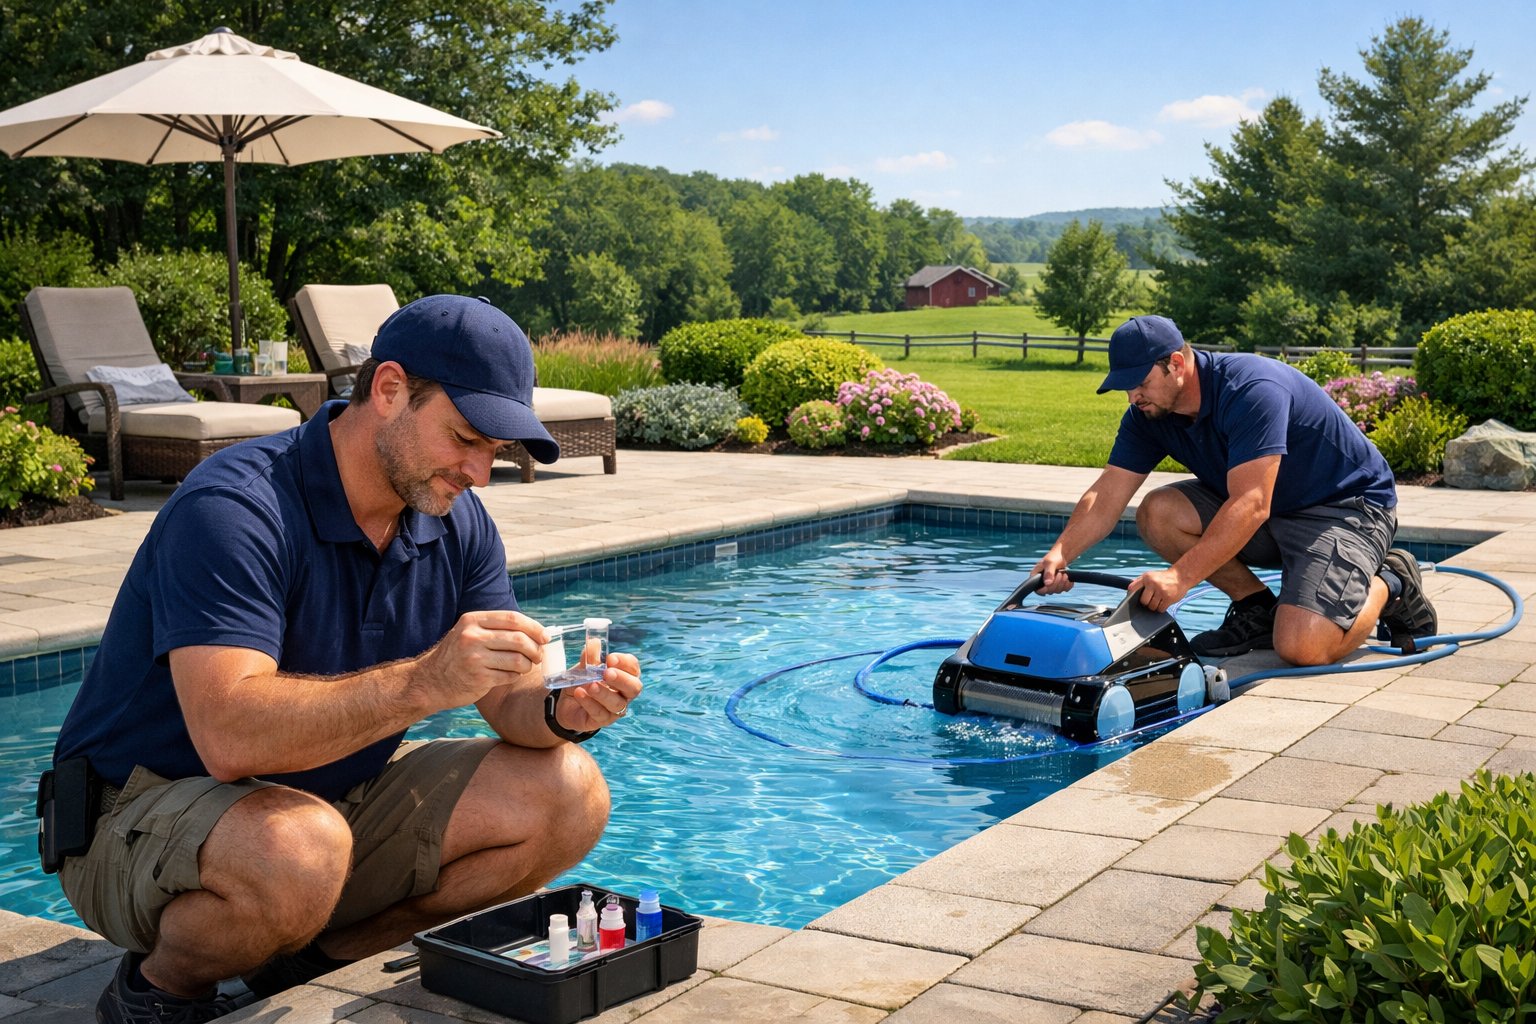
Don’t forget a water testing kit. You need to check chemical balance before you winterize, and digital test strips make it easy to get a quick read on chlorine, pH, and alkalinity.
A wet/dry shop vac is a must for pulling water out of skimmers and return lines. Strong suction keeps water from freezing inside pipes.
Submersible pumps make lowering the water level below the skimmer line a breeze. Drop one in the deep end and let it do its thing.
We use air compressors to blow out plumbing lines. At least 5 HP gets the job done—air pressure pushes every last drop of water out.
Once you’ve cleared the lines, pool plugs seal up return jets and skimmer lines. Expansion plugs fit different pipe sizes, and thread-in plugs give a tight seal for return lines.
We get a lot of questions about water levels, chemical treatments, equipment protection, and how to handle pools in different climates. Here are some of the things folks ask us most—whether you’ve got an above ground or inground pool, and no matter where you live.
First, clear out all debris and give the pool walls a good scrub. You want to start with clean water.
Next, balance your water chemistry. Aim for a pH between 7.2 and 7.6.
Add your winterizing chemicals. That means algaecide and a chlorine shock—let them circulate for a full day.
After that, disconnect and store your pump, filter, and heater somewhere dry. Don’t forget to pull out the skimmer baskets and return fittings.
Finally, put on the winter cover. Tighten it down so debris and leaves stay out, and your water stays clearer until spring.
Don’t drain your pool all the way—it can actually wreck the structure. Keeping most of the water in helps the pool hold its shape through winter.
For above ground pools, lower the water just below the skimmer opening. That’s enough to prevent freeze damage but keeps enough weight for support.
With inground pools, drop the water to about 18 inches below the coping. This protects the plumbing and keeps the shell safe from ground pressure.
If you go lower, you risk some serious problems. Empty pools can pop out of the ground or crack if the soil shifts or freezes.
Pool antifreeze stops water from freezing inside pipes and equipment. It’s not the same as car antifreeze—it’s made for pools and safe to use.
Pour antifreeze into each skimmer after you’ve removed as much water as possible. Keep going until you see it come through the main drain or return lines.
Don’t forget the return lines and any extras like spa jets or water features. Add antifreeze there, too.
For pumps, filters, and heaters, drain them first—then pour antifreeze in to protect anything left behind.
Start by balancing your water chemistry. Check and adjust pH, alkalinity, and calcium hardness before adding winterizing chemicals.
After you’ve shocked and treated the water, remove and clean all pool accessories. Drain water from pumps, filters, and heaters to keep them safe from freezing.
Blow out all plumbing lines with compressed air. Add pool antifreeze to skimmer and return lines for extra peace of mind.
Lower the water to 18 inches below the coping. Then, cover the pool with a solid winter cover and secure it tight.
If you’re in a warm climate where it rarely drops below 65°F, you might not need to go through the full winterization routine. Sometimes just running the filter less often is enough.
Keep an eye on your chemicals, though. Algae can still grow all winter if the water stays warm, so keep testing and adjusting as needed.
If the forecast calls for a freeze, protect your equipment. Cover things up and be ready to take extra steps if temps dip below freezing.
For those occasional cold snaps, partial winterization usually does the trick. Cut back on filtration, add winterizing chemicals, and cover up equipment when you get a freeze warning.
At Dolphin Pool Services, we always recommend keeping your above ground pool’s water level about 4 to 6 inches below the skimmer opening. That sweet spot helps prevent freeze damage and still gives the pool walls the support they need.
If you let the water drop too low, the walls can buckle or even collapse. Wind and winter weather really do a number on unsupported pool liners.
But if you leave too much water, you’re just asking for trouble with freeze damage. When water sits in the skimmer lines, it can freeze up and crack the skimmer housing or plumbing—definitely not something you want to deal with in spring.
The right water level can shift depending on your skimmer’s design and how brutal your winters get. Folks in colder climates might want to lower the water a bit more than those in milder areas.
And just so you know, whenever we show pools—especially in our images—the pools you see are always inground pools.