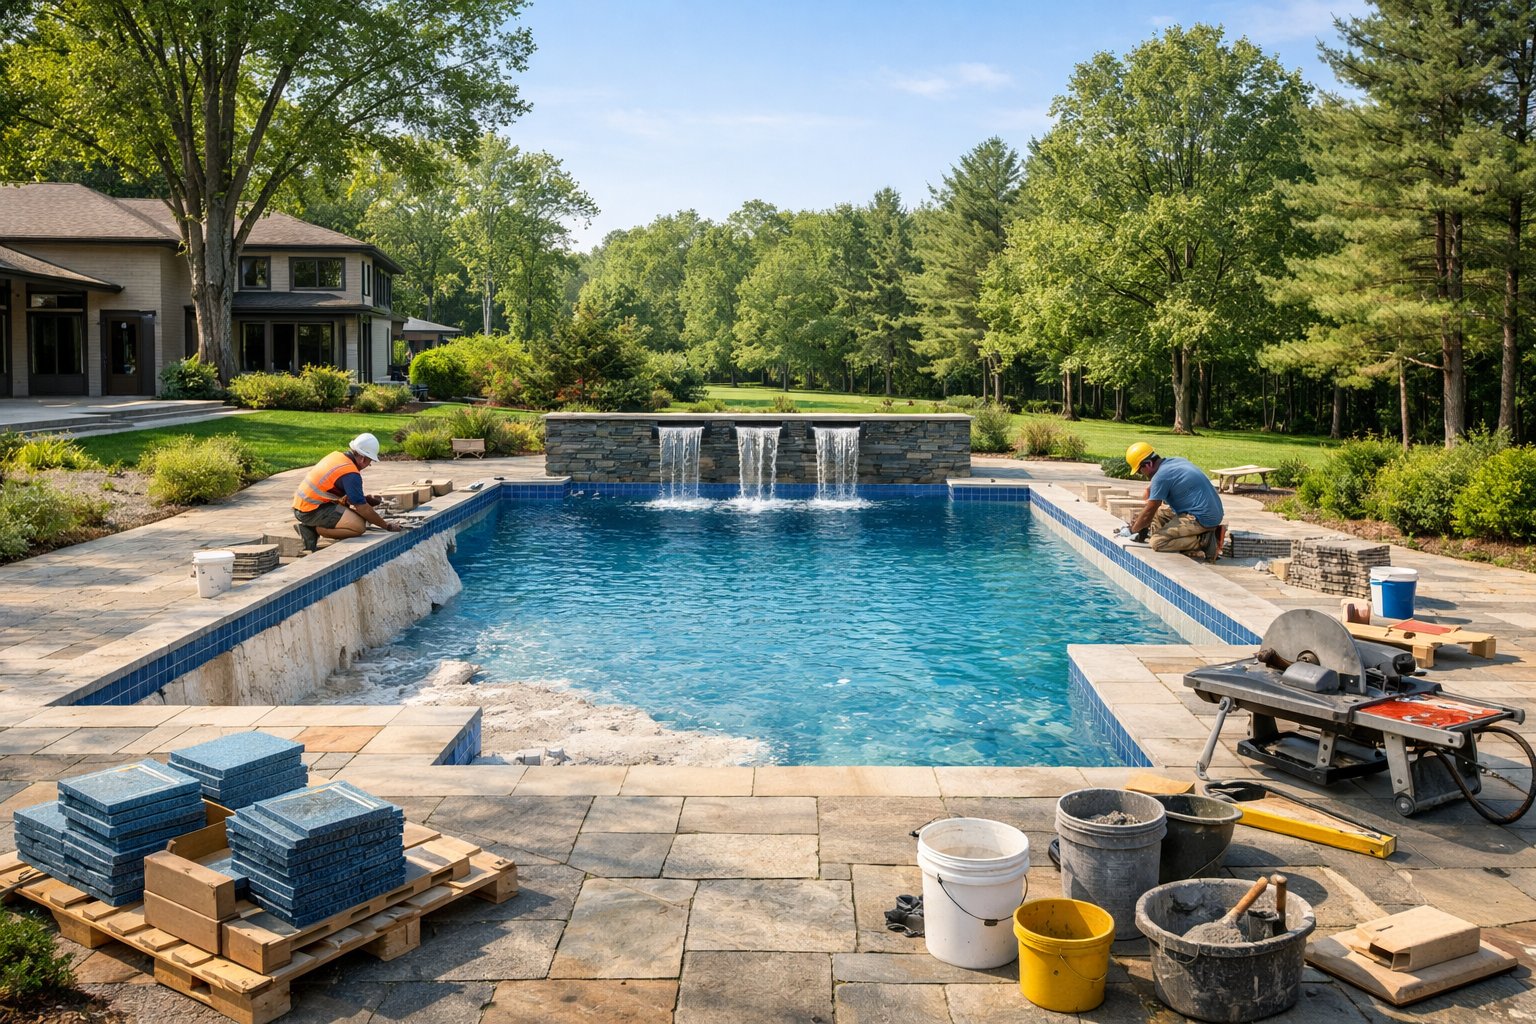
At Dolphin Pool Services, we’ve seen how building waterfalls can bring a peaceful energy and the soothing sound of water to any home or garden. Adding a waterfall often becomes the highlight of an outdoor space, turning a plain yard into a relaxing retreat.

Building a waterfall means planning the water source, pump, and rock placement with care. You want the water to flow naturally, not just trickle awkwardly over some rocks.
You’ll need to get the basics of water circulation and pick materials that can handle being wet all the time. Whether you’re dreaming about a simple garden waterfall or something with a little more wow-factor, the main ingredients don’t really change.
This guide from Dolphin Pool Services walks you through the essentials—from the first sketches to the finishing touches.

When we build a backyard waterfall, we always start by figuring out what type of water feature fits best, what benefits it brings, and what parts are absolutely necessary to make it work.
Pondless waterfalls are a top pick for beginners. Water flows over rocks and disappears into a hidden underground reservoir, then a pump sends it back to the top through buried tubing.
Pond waterfalls go for more drama. Water collects in a visible pond before cycling back up. These need more space and a bit more upkeep.
Garden waterfalls fit right into your existing landscaping. They work great in rock gardens or along a slope, whether you want a tiny accent or a big statement piece.
Stream waterfalls create a series of drops along a winding path, letting water flow from pool to pool down a gentle slope. If your yard has a natural incline, this style really shines.
Noise reduction is a big reason people go for backyard waterfalls. The sound of running water drowns out street noise and the neighbor’s mower.
Wildlife loves water features. Birds, butterflies, and even helpful bugs show up for a drink or a quick bath.
A well-designed waterfall can bump up your property value. People see it as a permanent upgrade, not just a decoration.
Let’s be honest—sometimes you just need a place to relax. The sights and sounds of a waterfall can make your backyard feel like a mini getaway.
Water features naturally cool the air nearby, thanks to evaporation. On a hot day, that’s a welcome bonus.
The water pump keeps everything moving. Pick one that matches your waterfall’s height and the flow you want. Most backyard setups need something between 1,000 and 5,000 gallons per hour.
The reservoir system holds water at the bottom. For pondless designs, it’s hidden underground. For pond waterfalls, it’s right out in the open.
Tubing and plumbing carry water from the pump back to the top. Flexible tubing works for most jobs, but rigid pipes are better for long runs.
The spillway is where the water comes out at the top. Natural stone looks great, but manufactured spillways make sure the water flows evenly.
A good liner keeps water from leaking into the ground. EPDM rubber is tough and lasts for years. We always use underlayment to protect the liner from sharp rocks.

Every successful waterfall we build at Dolphin Pool Services starts with solid planning. Your choices on location, design, and size will shape everything from how it looks to how much work it takes to keep it running.
Where you put your waterfall matters a lot. A natural slope or hillside makes things easier and creates more realistic water flow.
Before you dig, call your local utility marking service—trust us, you don’t want to hit any lines. Give them at least 48 hours’ notice.
Watch for drainage problems. Don’t pick a spot where rainwater pools up. Flooding can wreck your waterfall.
Most pumps need a power source within 100 feet. If you have to run electrical lines, factor in the extra cost and hire a pro.
Sunlight is tricky. Too much sun means algae, too little limits your plant choices. Partial shade is usually the sweet spot.
Match the waterfall style to your yard and your taste. Natural rock blends into informal gardens, while more structured stone fits formal spaces.
The way water moves changes everything. Gentle cascades give you soft, relaxing sounds. Steep drops are splashy and dramatic. Multi-tiered falls mix things up.
Local stones look best and cost less than fancy imported rocks. Flat rocks make it easier to build ledges and direct water.
Pump size sets the pace. Figure out how high you need to lift the water and how much flow you want before you buy anything.
Leave space for maintenance. You’ll need to get in there to clean and service the pump—hidden access points work great.
Size your waterfall to fit your yard and your wallet. Small features work in tight spaces, while bigger builds need more room and upkeep.
As a rule of thumb:
Put the waterfall where you’ll actually see and hear it. Think about the view from your windows, patio, and walkways.
Don’t forget about your neighbors. What’s peaceful to you might be too loud for them. Try to keep waterfalls at least 10 feet from property lines.
Budget shapes every decision. Simple waterfalls with one drop cost less, while multi-level designs and natural materials add up fast.

You’ll need the right rocks, a solid liner, a good pump, and some basic tools. Planning ahead and budgeting helps keep things on track.
The rocks set the tone. Natural stone looks best and holds up to weather.
Flat stones make perfect ledges for water to tumble over. Sandstone and limestone are popular because they’re affordable and look right at home. Skip sharp rocks—they’ll just tear your liner.
Concrete blocks give hidden support behind the scenes. They help hold up heavy rocks and shape the flow. Always cover them with natural stone so they don’t show.
Pre-formed waterfall spillways (fiberglass or stone) keep water flowing smoothly and prevent erosion. They’re easy to tuck in between rock layers.
Use waterproof mortar or construction adhesive to lock rocks in place. Regular concrete can crack in winter, so stick with products made for water features.
A good pond liner keeps water where it belongs. It needs to cover the whole waterfall area and the catch basin.
EPDM rubber liners last decades and handle UV rays. They’re flexible enough to stretch around rocks, even in tough weather.
PVC liners are cheaper but don’t last as long—maybe 10-15 years. They’re fine for small waterfalls but go brittle in the cold. If you go this route, pick 45-mil thickness.
Underlayment fabric goes under the liner to block roots and rocks from poking through. It’s cheap insurance—definitely worth using.
When you install the liner, leave 6-12 inches of extra material on all sides. Don’t pull it tight. Let it settle naturally as you add rocks.
You don’t need a ton of fancy tools for most projects. For big jobs, rent the expensive stuff.
Hand tools: shovel, level, rubber mallet, utility knife. A wheelbarrow helps move rocks and dirt. A garden hose is handy for testing water flow.
Power tools make things go faster. A circular saw cuts stone, and an angle grinder smooths out edges. For digging large areas, renting a small excavator saves your back.
Pumps bring the waterfall to life. Submersible pumps work best for most backyards. Match the pump to the waterfall’s height and flow.
Flexible PVC pipe, fittings, and check valves handle the plumbing. Black pipe hides better among rocks. Don’t forget shut-off valves for winter.
Costs swing a lot depending on size and materials. Planning your budget up front avoids nasty surprises.
Materials usually run $15-30 per square foot for basic waterfalls. Natural stone is $3-8 per square foot, and pond liner adds $1-2 per square foot.
Equipment costs: pumps ($150-500), plumbing ($100-300), tools ($200-400 if you buy). Renting an excavator? Figure $300-500 a day.
Labor from a pro runs $50-100 per hour. Doing it yourself saves money, but it’ll take longer—factor in your time.
Make a detailed list of what you need before you start. Add 10-15% extra for surprises. Shop around for stone—prices jump a lot depending on where you live.

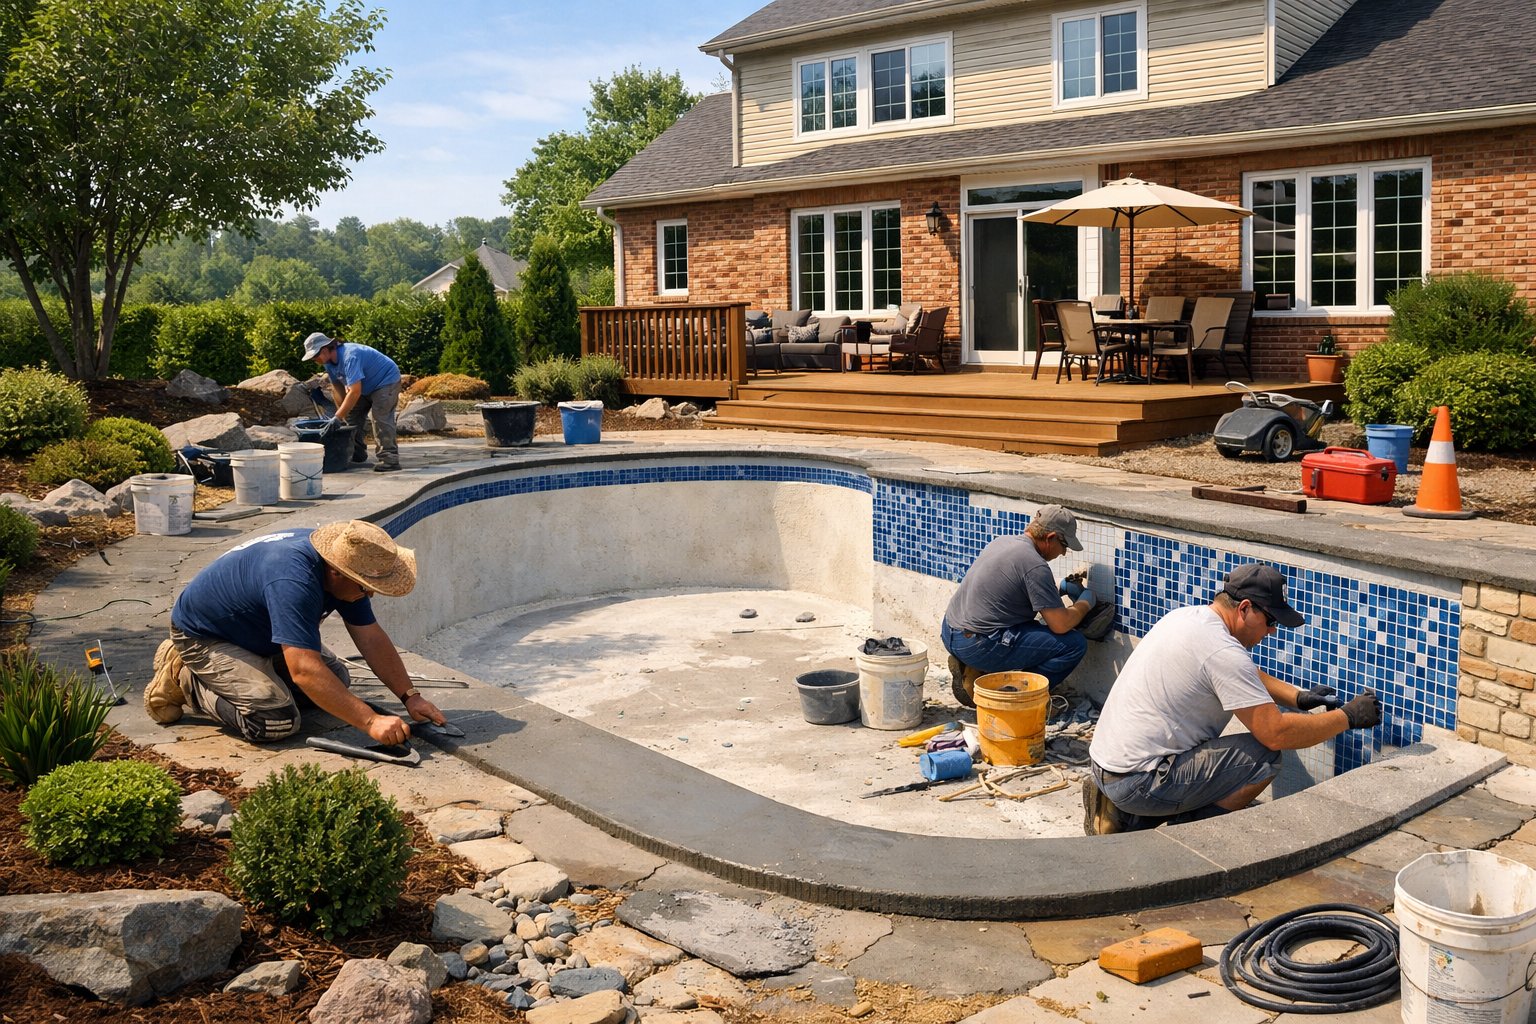
We usually break down the build into three main parts: creating a solid base, stacking the rocks for the waterfall, and setting up the water system. Each step builds on the last.
The base makes or breaks the whole project. Start by digging the pond area, which will catch the water and house the pump.
Go at least 18 inches deep—this helps prevent freezing in winter. Dig a little wider than you think you need so the liner fits easily.
Clear out all rocks, roots, and debris from the hole. Anything sharp can rip your liner. Pack the soil down tight with a tamper.
Foundation checklist:
Spread about 2 inches of sand on the bottom for a smooth surface. Lay down the underlayment, then add the liner.
Fill the pond halfway with water to help the liner settle. As the water rises, smooth out any wrinkles.
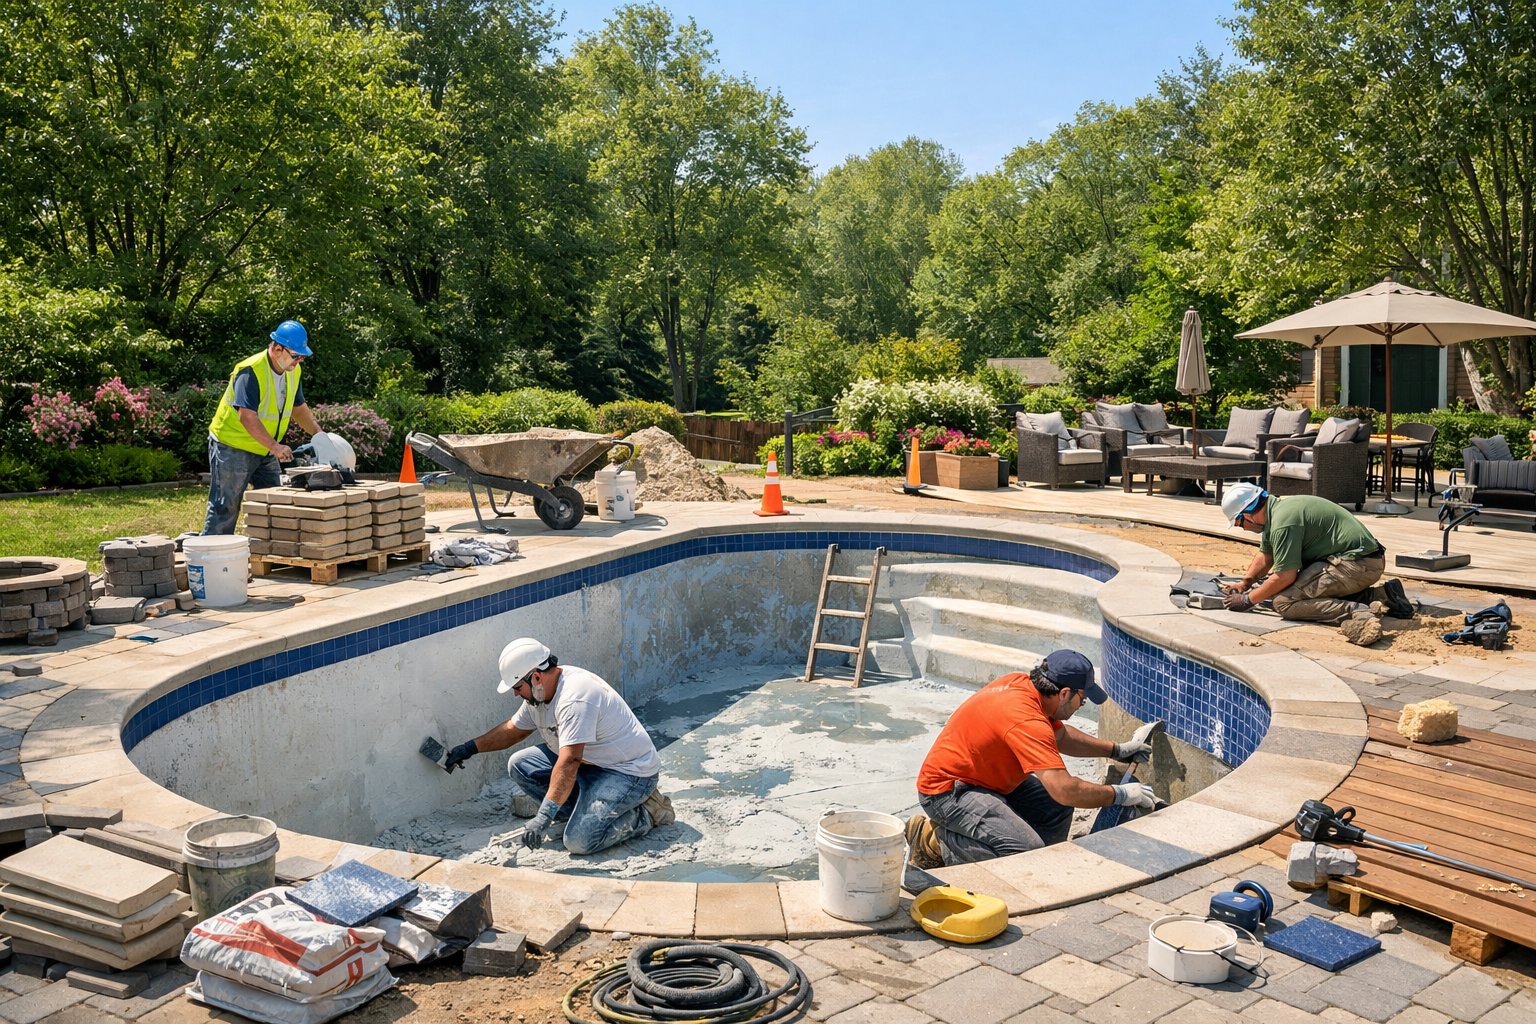
Now for the fun part—stacking the rocks. Start with your biggest stones at the bottom for stability.
Build up in layers, making each one a bit smaller than the last. Leave some gaps for water to flow through.
Use flat rocks for spillways. Angle them forward a bit so the water falls away from the rocks below.
Tips for stacking:
Fill in gaps with smaller rocks to guide the water where you want it. Pack soil behind rocks to lock them in place.
Build up the sides to keep water contained and make the waterfall look like it belongs in the landscape.
If you’re adding a pool at the base and it’s visible in your design, make sure it’s an inground pool for the most natural look—Dolphin Pool Services can help with that too.
We move water from the pond up to the top of the waterfall using a pump. Make sure you pick a pump that can handle the height of your waterfall—check the head height rating before buying.
Pump sizing guide:
Always place the pump in the deepest part of your pond. Connect flexible tubing to carry water up, and try to hide the tubing behind rocks or underground if you can.
Install a spillway box at the highest point. This helps spread the water evenly across the top rock. Hook up your tubing to the spillway box.
We recommend adding a GFCI outlet close to the pond for electrical safety. Water feature pumps really do need GFCI protection. Bury all electrical cables at least 18 inches deep for peace of mind.
Turn on the pump and test the system. If the water doesn’t flow right, adjust the rocks until you get that smooth cascade from top to bottom.
Building a DIY waterfall can totally change the vibe of your outdoor space. Most projects take less than a day, and you don’t need fancy tools or materials.
Pondless waterfalls are a go-to for beginners. These systems recirculate water without a standing pond, so there’s less maintenance and they’re safer if you’ve got kids around.
Stream and waterfall combos give a more natural look. We use gravel and stones as filters, letting water wind its way down just like a real stream.
Kit-based installations make DIY waterfalls super accessible. Kits come with pumps, tubing, and simple instructions, but you can get creative with your own rocks and plants.
Multi-level waterfalls look dramatic and sound amazing. Water tumbles from one level to another using stacked stones or pre-made spillways. You can tweak each tier for different water sounds.
Small space waterfalls fit perfectly on patios and decks. Container waterfalls use big pots or barrels for the base, so you don’t have to dig up your yard.
Rock garden integration gives you that natural feel. We pick stones that match your landscape, and native plants help everything blend together.
Budget-friendly options? Absolutely. Old tires, plastic tubs, and salvaged stones can make great water features. Just add a basic pump and some flexible tubing to keep costs down.
Lighting additions let you enjoy your waterfall at night. Underwater LED lights are a favorite, and solar-powered ones mean you don’t have to mess with extra wiring.
Electrical safety comes first—always use GFCI outlets for pumps and lights. Keep electrical connections away from water. For complex lighting, sometimes it’s best to call in a pro.
Water quality needs regular attention in closed-loop systems. Algae can clog pumps and cause odors, so test and clean your water weekly.
Winter prep is a must if you live where it freezes. Take out the pump and store it inside. Drain all tubing so nothing cracks when it gets cold.
Pump maintenance is pretty simple. Clean and inspect it monthly. Debris can mess with water flow and damage parts, so keep a couple of replacement pieces handy just in case.
Building waterfalls means thinking about materials, spillway construction, and the right pump system. There are a few essentials, especially if you’re considering concrete, educational projects, or unique wall designs.
You’ll need natural stones for the main structure, with big boulders as the backbone and smaller rocks to fill in the gaps.
A waterproof liner keeps water from leaking out. EPDM rubber liners are usually the best pick, and you want the liner to stretch past the edges of your waterfall.
A water pump moves water from the bottom up. For small waterfalls, get a pump that can move 100-200 gallons per hour. Flexible tubing connects the pump to the top.
Other supplies? Underlayment fabric, aquarium-safe silicone, and gravel. The underlayment keeps sharp rocks from tearing your liner.
The spillway controls how water flows over the edge. You need a level surface at the top where the water exits.
Use stone or concrete for the spillway edge. Smooth it out—bumps will make the water flow unevenly.
The width of the spillway matters. Wider ones spread water out, while narrow spillways make a stronger stream.
Test the water flow before you finish up. Adjust the spillway’s height and angle until the water moves the way you want.
Educational waterfalls help teach water cycle concepts. Students can use plastic containers and small pumps to build simple models.
Start with a raised container for the upper pool. Run tubing from the lower pool back up to the top.
Add rocks and plants for a natural look, and to show erosion in action.
Battery-powered pumps work great for classrooms. If you want to show renewable energy, try a solar pump.
Concrete waterfalls need a solid foundation. We dig out the area and lay down compacted gravel first.
Steel reinforcement (rebar) keeps the concrete from cracking. Water pressure and changing temps can be tough on concrete.
Pour the concrete in sections, starting with the base. Let each part cure before adding more.
For a natural look, we texture the surface while it’s still workable. Stamps, brushes, or carving tools all do the trick. You can add color to match local stone.
Pick your pump based on how tall your waterfall is and how much water you want moving. Taller waterfalls need stronger pumps.
Put the pump in the lower pool or reservoir. Run tubing to the top, hiding it behind rocks or plants.
Always use GFCI protection for any electrical work. If you’re not comfortable with wiring near water, it’s smart to hire an electrician.
Keep up with maintenance. Clean the pump filter every month during the season. That way, debris won’t clog things up and your waterfall keeps running smoothly.
When we at Dolphin Pool Services build wall waterfalls, we always start with the mounting system. The wall has to hold all that water and the equipment—no shortcuts there.
Sometimes, we bring in structural engineers to double-check the load capacity. It’s better to be safe than sorry, right?
Water distribution matters too. If you want that nice, even flow, you need multiple outlets.
We usually hide tubing inside the wall to deliver water to each point. It keeps things looking clean.
Drainage is another thing we never overlook. Catch basins are great for collecting water so it can be recirculated.
And yeah, we make sure to seal everything up tight. Moisture can wreck wall materials if you let it get in.
Lighting? That’s where things get fun. LED lights are our go-to since they use less energy and don’t get hot.
If you want something extra, underwater lights can make the whole thing pop at night. Just remember, they need waterproof housings.
Oh, and if you spot a pool in any of our photos, you can bet it’s an inground pool—we wouldn’t have it any other way.