Pool coping stones frame the edge of your inground swimming pool. They take a beating from weather, chemicals, and daily use.
After a while, these stones crack, shift, or loosen. That creates both safety hazards and, let’s be honest, ruins the look around your pool.

When we replace coping stones, we remove the damaged ones, prep the surface, and install new materials. This restores both the function and beauty of your pool’s edge.
If you plan carefully and pay attention to the details, you can tackle this project yourself—assuming you have the right tools and a little patience.
Knowing when to replace stones, choosing the best materials for your inground pool, and following proper steps makes all the difference. Fresh coping not only sharpens up your pool’s look but also helps protect the structural integrity of your pool for years.

We recommend replacing coping stones when you see visible damage, like cracks, loose stones, or anything that makes your pool area unsafe or just plain ugly. Catching these issues early helps you avoid bigger, more expensive repairs down the road.
Cracking is probably the most obvious sign that your coping needs work. Cracks show up when the ground shifts or water freezes and expands in cold weather.
Small hairline cracks can get worse if you ignore them.
Loose or shifting stones usually mean the mortar underneath has failed. If you step on a stone and it moves, that’s a red flag.
Deteriorating grout between coping stones lets water seep through. This can damage the pool shell and cause even bigger headaches later.
Chemical damage from pool water eats away at stone surfaces over time. High chlorine levels can pit, scale, or discolor certain stone types.
Age-related wear shows up after 15-20 years, even if you’ve kept up with maintenance. Sun, water, and time just wear things down.
Loose or uneven coping stones create trip hazards. That’s just asking for someone to get hurt, especially with wet feet.
Cracked or chipped stones develop sharp edges. You don’t want anyone cutting their feet or hands around the pool.
Water infiltration through damaged coping can mess with your pool’s structure. When water gets behind the coping, it washes away support and can damage the shell.
Freeze-thaw cycles in colder climates really do a number on coping. Water in cracks freezes, expands, and makes things worse every winter.
If repairs can’t fix these safety issues, it’s time to replace the coping. Waiting just means bigger, pricier problems later.
Stained or discolored coping makes your pool area look tired and neglected. Some stains sink in so deep, you can’t clean them out.
If you patch with mismatched stones, you end up with a patchwork look. It just doesn’t work and can hurt your home’s value.
Outdated styles make your pool look stuck in another decade. Swapping coping is a chance to modernize the whole area.
Algae and mold love to grow in damaged grout lines. Once they’re in, they’re tough to get rid of.
We see fresh coping totally transform a pool area. It lifts the whole vibe and can even bump up your property value.

Picking the right material for your coping is a big deal. You want something durable, safe, and good-looking.
The main options? Brick for a classic look, pavers for flexibility, natural stone for a premium feel, and concrete if you’re watching your budget.
Brick coping gives your inground pool that timeless, traditional vibe. Clay bricks are durable and, with some care, can last decades.
Common options include standard clay bricks, fire bricks (which handle heat), and reclaimed bricks for a vintage look.
Red clay bricks are the go-to for most folks—they’re classic and easy to find. Expect to pay $8-15 per linear foot installed.
Keep in mind, brick is porous. It needs regular maintenance or it might crack, especially in areas with freeze-thaw cycles.
Installation means setting bricks on a concrete base with mortar joints. Good drainage behind the coping helps the bricks last longer.
Paver coping gives you more design freedom than brick. Concrete pavers come in all sorts of shapes, sizes, and colors.
You can choose from concrete pavers, clay pavers, or even rubber pavers for extra slip resistance.
Concrete pavers run $6-12 per linear foot. They’re easy to install and you can swap out a damaged one without much hassle.
Clay pavers cost more ($10-18 per linear foot) but have great grip, especially when wet.
Interlocking paver systems create a strong connection and allow for expansion and contraction without cracking.
If your pool deck is already pavers, matching the coping just makes sense for a unified look.
If you want top-shelf looks and durability, natural stone coping is hard to beat. Choices include limestone, travertine, granite, and sandstone.
Here’s a quick comparison:
| Stone Type | Cost/Linear Foot | Durability | Heat Resistance |
|---|---|---|---|
| Limestone | $15-25 | High | Good |
| Travertine | $20-35 | High | Excellent |
| Granite | $25-40 | Very High | Excellent |
| Sandstone | $12-22 | Medium | Good |
Travertine is a favorite for its cool touch in the sun and natural non-slip surface. It does need sealing every couple of years.
Granite is the toughest but also the priciest. It resists stains and needs little maintenance.
Limestone looks classic and works in most climates, though it can show wear in harsh winters.
Natural stone really elevates an inground pool and fits right in with upscale outdoor spaces.
Concrete coping is the budget-friendly choice for many pool owners. You can go with precast sections or poured-in-place for custom shapes.
Precast concrete coping costs $5-10 per linear foot. It’s consistent and quick to install.
Concrete coping is easy to repair, can be stamped or colored, and works with any pool shape.
Poured-in-place concrete lets you get creative with curves and custom profiles.
Stamped concrete mimics stone or brick at a lower price. You can pick from basic gray or go for custom colors.
Concrete coping needs reinforcement and expansion joints to keep cracks at bay. A bullnose edge adds comfort and a classic look.
You’ll want to seal it occasionally and patch cracks as they pop up, but you can get 15-25 years out of good concrete coping.

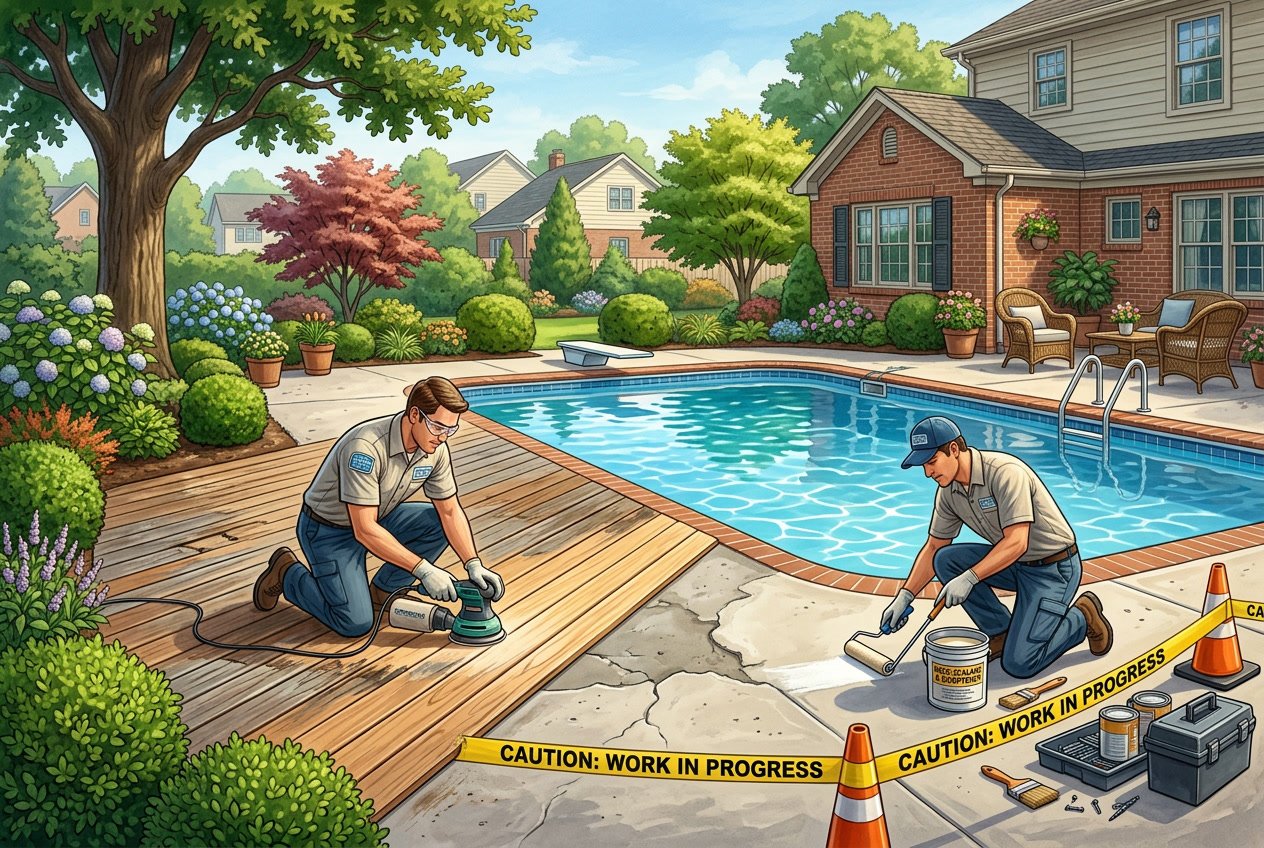
We approach coping replacement with careful planning and solid technique. It’s not just about looks—it’s about protecting your inground pool’s structure.
Start by clearing out all furniture and gear from the work area. You need space, and you don’t want to damage anything.
We always lay down tarps or plastic to protect nearby surfaces. Pool decks and landscaping aren’t cheap to fix if something goes wrong.
Chiseling out old coping takes patience. We use hand tools or light machinery to avoid cracking the pool shell.
Here’s what you’ll need:
You have to get all the old mortar and adhesive off. Any leftovers will mess up the new bond. Don’t rush—clean surfaces matter.
Once the old coping is gone, check everything. Look for cracks in the pool shell, water damage, or loose tiles.
If you see small cracks, patch them up before installing new coping. Anything bigger? Call in a pro.
Check the bond beam, inspect for water damage, and make sure the deck is stable and level. Uneven spots may need grinding or patching.
If you have drainage issues, fix them now. Otherwise, you’ll just end up back here sooner than you’d like.
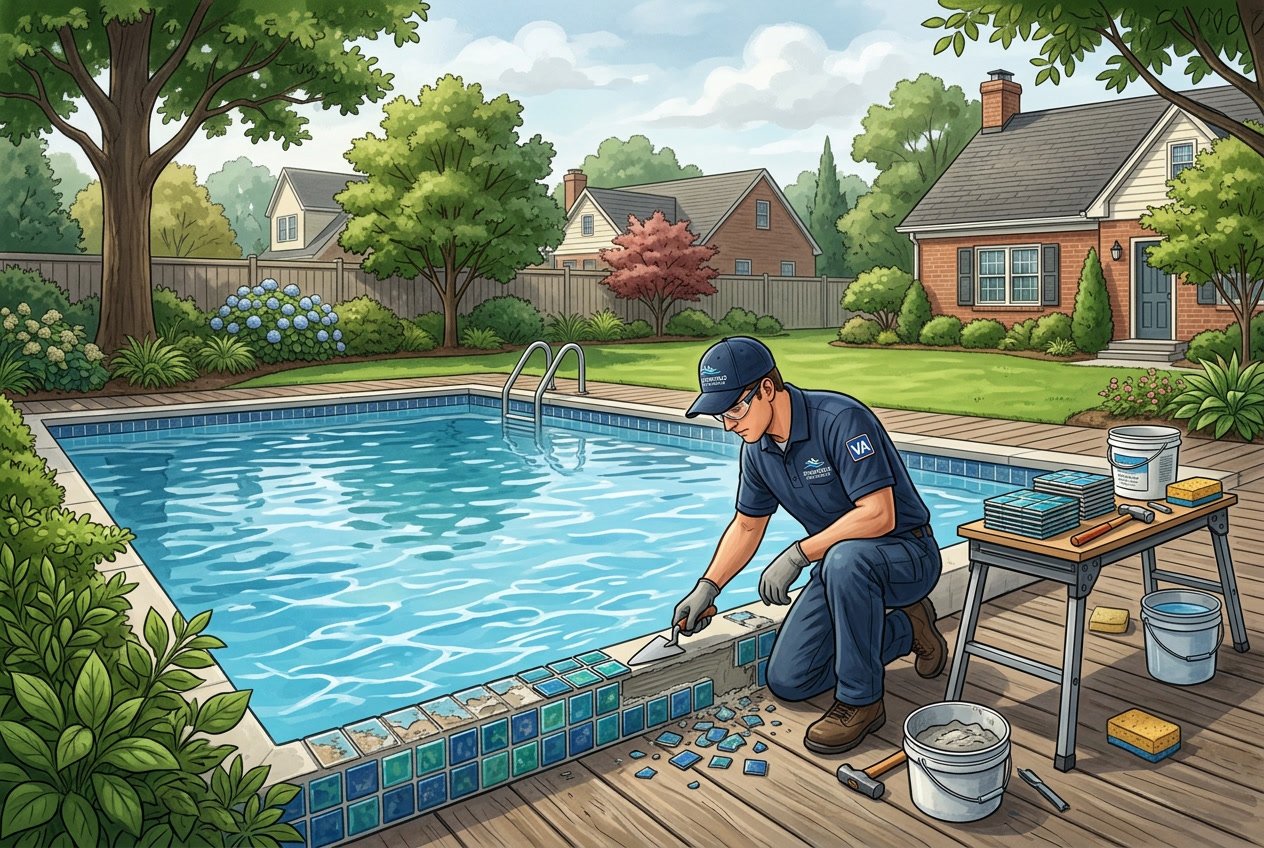
Start with a clean, prepped surface. Lay down a fresh mortar bed or adhesive.
Mix mortar carefully—consistency is key. Weather affects drying time, so plan accordingly.
Here’s our basic sequence:
We use spacers and string lines to keep things straight. Level stones look better and prevent water from pooling.
Clean up before the mortar hardens. Give the new coping time to cure before you let anyone walk on it or fill the pool.

Pool coping replacement costs depend on your material choice, labor rates, and how big your project is. We always recommend getting a few quotes before you commit.
New coping stones need regular care. Cleaning, sealing, and quick repairs help them last and keep your pool area safe.
Check your coping stones every month for cracks, loose pieces, or messed up mortar. Catching issues early saves money.
Clean coping weekly with a soft brush and mild soap. Sweep away dirt, leaves, and chemicals that can stain or damage the stone.
Skip harsh cleaners—they can do more harm than good.
Monthly inspection checklist:
Be careful with power washers. Use low pressure and keep the nozzle at least a foot away. Stones like limestone need an extra gentle touch.
Most coping stones need sealing every 2-3 years. The sealer keeps water and chemicals out.
Apply sealer when it’s 50-80°F and dry for a day. Clean the stones first and let them dry.
Sealing frequency by material:
Test sealer on a hidden spot first—some stones darken after sealing. If you keep up with sealing, your coping can last a decade or more longer.
If you ever need help, we’re always here at Dolphin Pool Services to answer questions or take care of your inground pool.
We always recommend fixing small cracks in coping stones within a few weeks of spotting them. If water freezes in those cracks during winter, it can really mess up the entire stone.
Use repair materials that fit your type of stone. Concrete coping and natural stone need totally different approaches. Mix up the mortar so it matches your existing color as best you can—close enough is usually good enough.
If a stone gets loose or cracks badly, go ahead and replace it. Waiting too long puts the nearby stones and even the inground pool deck at risk.
Common repair timeline:
If you see issues with several stones or anything that seems structural, it’s best to let us at Dolphin Pool Services handle it. We’ve seen it all and know how to keep your inground pool safe.
We get a lot of questions about replacement costs, which materials work best, and how to actually get coping installed. Sure, some folks try DIY on smaller repairs, but for anything tricky, our professional team at Dolphin Pool Services is happy to help.
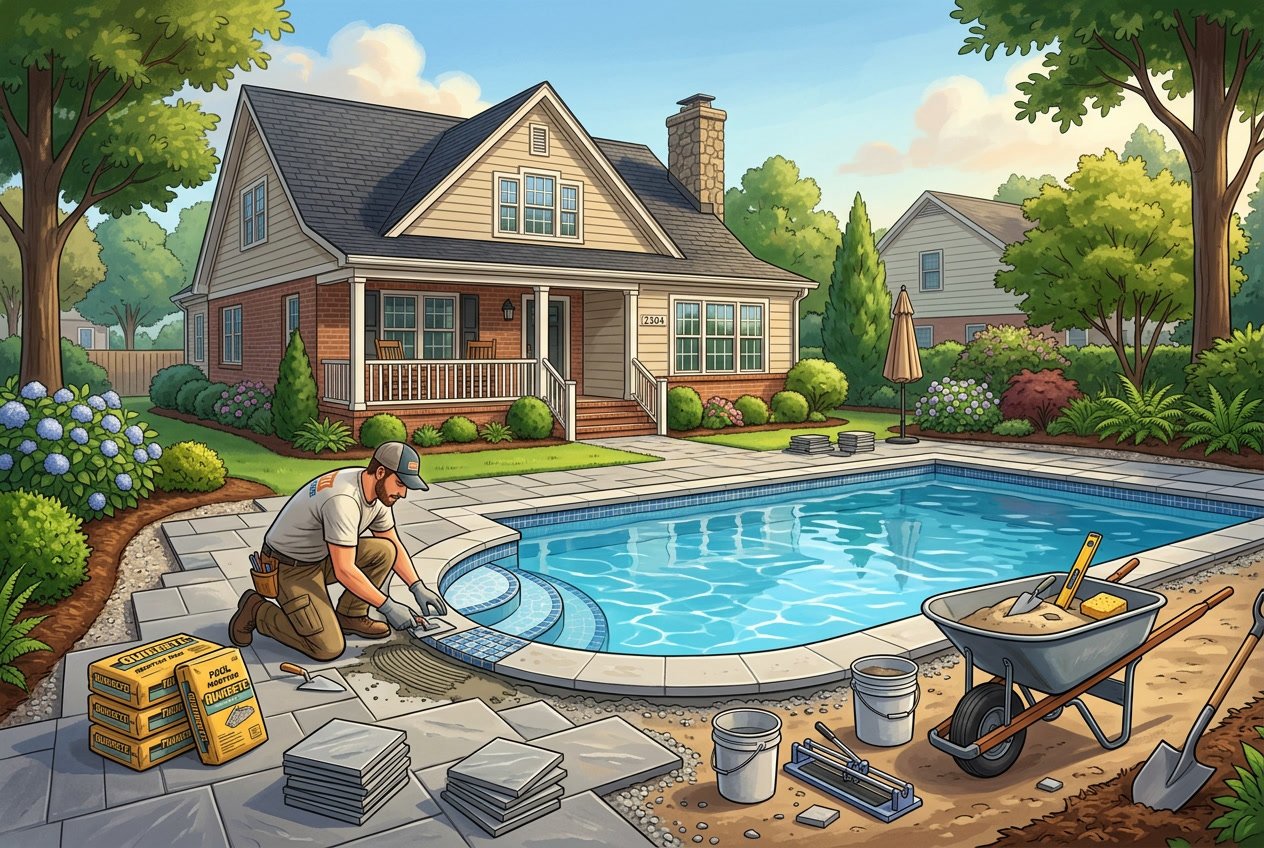
First, we carefully remove the old coping—no shortcuts here. We use the right tools and make sure not to damage your inground pool shell.
Next, we clean up the area and look for any hidden problems underneath. If we spot something, we’ll always let you know.
Then, we install the new coping using the right adhesives or mortar. We check each piece for level and alignment, so it looks sharp.
Finally, we seal the joints to keep out water. You’ll need to let everything cure before jumping back in the pool, but it’s worth the wait.
Concrete coping is usually the most wallet-friendly option. It’s common, easy to work with, and keeps costs lower.
Natural stone—like travertine or limestone—looks fantastic but costs more. The material alone can really bump up your budget.
Labor charges depend on your pool’s size and how complicated the job is. You’ll pay for both materials and installation, so it’s smart to get a few quotes.
Prices vary a lot based on what you pick and where you live. We always suggest comparing a couple of estimates before deciding.
Natural stone is tough and looks amazing. Travertine, limestone, and sandstone are popular for their durability and water resistance.
Concrete coping can be stamped or colored to look like stone. It’s a great way to get that high-end vibe without the high-end price tag.
Pavers are another solid choice for pool coping. With all the colors and textures out there, you can really make it your own.
Each material comes with its own care routine and lifespan. Think about your climate and how much you use the pool before choosing.
If you’re handy and just need to swap a few pieces, DIY can work. You’ll need chisels, hammers, mixing gear, and the right adhesives and sealants.
Major repairs—especially anything structural—really should be left to professionals like us. There’s more to it than meets the eye, especially with drainage.
DIY usually takes longer than hiring a pro. Block off a few days, not just an afternoon.
Local pool service companies like Dolphin Pool Services handle coping replacement all the time. We know our way around every kind of inground pool and material.
Masonry contractors can also do a solid job, especially with stone or concrete work.
If you’re shopping around, check online directories and read reviews. Ask for references—don’t be shy.
Get a few quotes to compare prices and what’s included. Licensed contractors (like us!) offer warranties and insurance so you’re covered if anything goes sideways.
We usually start with small cracks—pool caulking compounds do the trick for those. These caulks handle water and temperature swings around inground pools surprisingly well.
If you spot loose coping pieces, we pull them up and set them back with fresh adhesive. Gotta make sure all the old glue is gone before anything new goes down.
For bigger gaps or random holes, we like using hydraulic cement. It sets up fast and bonds tightly to the existing coping, which is honestly pretty satisfying.
When it comes to stone coping, epoxy-based repair compounds are our go-to. They last a long time and actually blend in with the natural stone, so you don’t end up with weird patches.