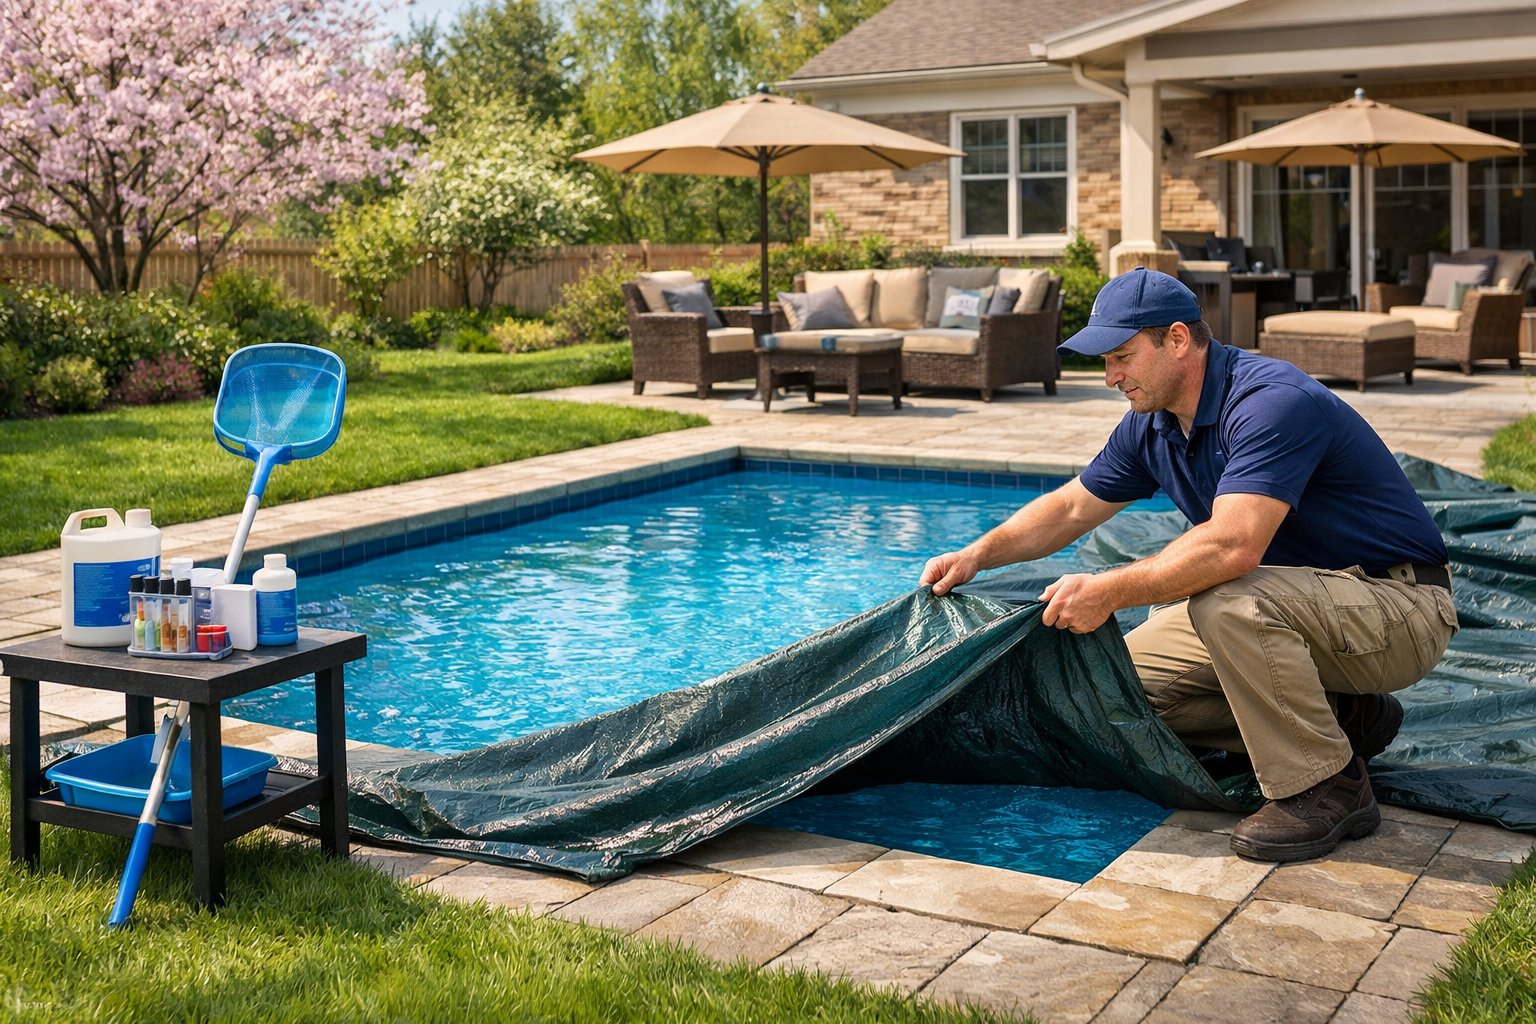
At Dolphin Pool Services, we know pool perimeter sealing matters—a lot. It shields your swimming pool from water damage, chemical exposure, and those sneaky, expensive structural issues that can creep up if you’re not paying attention.
The coping and expansion joints along your pool’s edge? They need proper sealing to keep water out of the foundation and deck zones.

Choosing the right sealant and applying it right can save you thousands in repairs—and tack on decades to your pool’s life. Too many pool owners skip this step or grab whatever’s on the shelf, and that leads to cracked coping, ruined decks, and some wallet-draining repairs.
We’re breaking down the types of pool sealants, how to pick the best one for your pool, and the techniques we trust for pro-level results. We’ll even toss in some brand tips and real-world answers to the questions we hear all the time.

Pool perimeter sealing protects the zone where your pool structure meets the deck. That’s where water loves to sneak in and cause trouble.
Sealing here keeps water out, helps your pool last longer, and keeps the whole setup solid—even in spots that like to fall apart.
When we talk about pool perimeter sealing, we mean putting specialized sealants in the gaps and joints around your pool’s edge. You’ll see us working where pool coping meets the deck surface.
Pool coping acts as the cap or border surrounding the top edge of your pool. It’s the barrier between the pool and the deck.
Main spots for sealing:
We usually use deck-o-seal (aka mastic). This stuff is flexible, so it handles temperature swings and keeps things watertight.
At Dolphin Pool Services, we use caulk guns or pro-grade gear to apply sealant. For the best protection, it’s gotta stick to both surfaces—no shortcuts.
When you seal things up right, water can’t sneak under your pool structures. Otherwise, it’ll mess with your foundation, erode the soil, and make the whole thing settle over time.
Sealed joints fight off freeze-thaw cycles that crack concrete and stone. Without flexible sealing, all that expanding and contracting does a number on your pool.
Sealing shields you from:
If you leave perimeters unsealed, water gets to the reinforcement materials. That’s a recipe for rust, corrosion, and weakened structures.
Good sealing keeps high-end materials like travertine and fancy concrete looking sharp. Without it, even the priciest stuff wears out way too soon.
The coping-to-deck joint? It gets hammered by stress and water. We recommend regular inspection and maintenance to keep that seal from failing.
Large concrete decks have expansion joints that need extra love. These joints move a bit, but they still need to keep water out.
Watch these areas:
Pool equipment zones often end up with gaps thanks to vibration and settling. Pumps, filters, and heaters all cause little movements that can break seals.
Weather’s another factor. South-facing spots get blasted by UV, while shady areas can grow mold.
Bad drainage around the pool perimeter leaves standing water. That’s a sealant’s worst enemy—it breaks down way faster than normal use.

You’ve got choices when it comes to pool sealants. Silicone and polyurethane are the big players, but each has its quirks.
Sealants for swimming pools keep structures safe from water, UV, and chemicals. They fill gaps around coping, decks, and even pipe connections.
We see a few main types. Silicone sealants flex and resist water. Polyurethane sticks like crazy and lasts.
Acrylics are good for tiny cracks in concrete. Epoxy is the heavy-duty stuff for structural repairs.
Different spots need different sealants. Coping joints? You want flex. Pipe connections? Go chemical-resistant.
Climate matters too. Hot, sunny areas need UV-proof products. If you get freeze-thaw cycles, you need something that can move.
Silicone sealants stay flexible after curing, which is perfect for joints that expand and contract. They’re tough against water, UV, and most pool chemicals.
They cure fast and are pretty easy to use. We put silicone on coping joints, around skimmers, and near pool lights.
Silicone drawbacks:
Polyurethane sealants bond stronger than silicone. They’re great for repairs in high-stress areas.
You can paint and sand them after they set. They also handle abrasion better.
Polyurethane downsides:
Your pool type decides what sealant’s best. Concrete pools need something that bonds to masonry. Vinyl pools want gentle formulas that won’t mess up the liner.
Location matters, too. Pool coping wants flexibility. Pipe joints need chemical resistance.
Climate? Big deal. Hot places need UV-tough stuff. Cold climates need freeze-resistant formulas.
| Pool Area | Best Sealant Type | Key Features |
|---|---|---|
| Coping joints | Silicone | Flexible, UV-resistant |
| Concrete cracks | Polyurethane | Strong bond, paintable |
| Pipe connections | Silicone | Chemical-resistant |
| Deck repairs | Acrylic or polyurethane | Weather-resistant |
Always double-check chemical compatibility. Some sealants don’t play nice with chlorine or salt.
Clean and dry your surfaces before you start. Get rid of old sealant for the best bond.

Picking the right sealant for your pool perimeter isn’t just about grabbing whatever’s on sale. You’ve got to consider your environment, pool materials, and where you’re applying it.
Pool perimeter sealants get tested by temperature swings and movement. The best ones stay flexible for years.
Flexible sealants stop cracks when concrete shifts. Rigid stuff usually fails after a year or so.
High-quality pool sealants can last 5-10 years if you apply them right. Cheap stuff? You’ll be redoing it in 2-3 years.
Look for:
Check the manufacturer’s warranty. Longer warranties usually mean better durability.
Pool chemicals and sunlight are brutal on regular sealants. Pool-specific stuff holds up much better.
Chlorine exposure comes from splashing and vapors. Standard silicone yellows and cracks fast.
UV rays will eat away most sealants. Pool-grade products have UV stabilizers that help them last.
Look for:
If it says “marine” or “pool use,” it’s probably up to the task.
Different surfaces need different sealants. Pick the wrong one, and it might not stick—or worse, it could stain.
Concrete and stone are usually easy. Most pool sealants work with them.
Tile and metal coping need primers or special adhesion boosters. Smooth surfaces don’t give you much to grip, so chemistry matters.
Natural stone can stain if you use the wrong sealant. Light stones need non-staining formulas.
Quick guide:
Always test a hidden spot first. Some combos just don’t mix.
Sealant needs change a lot depending on whether it’s above or below the water line.
Above water line sealants deal with weather and splashes. They need UV protection and flexibility.
Below water line spots need to handle constant submersion. Not every sealant cures underwater or stays stuck when it’s always wet.
Underwater sealants cost more, but they’re worth it for submerged jobs. They block water and chemicals like champs.
Quick breakdown:
Don’t try to use one sealant everywhere. Match the product to the job.

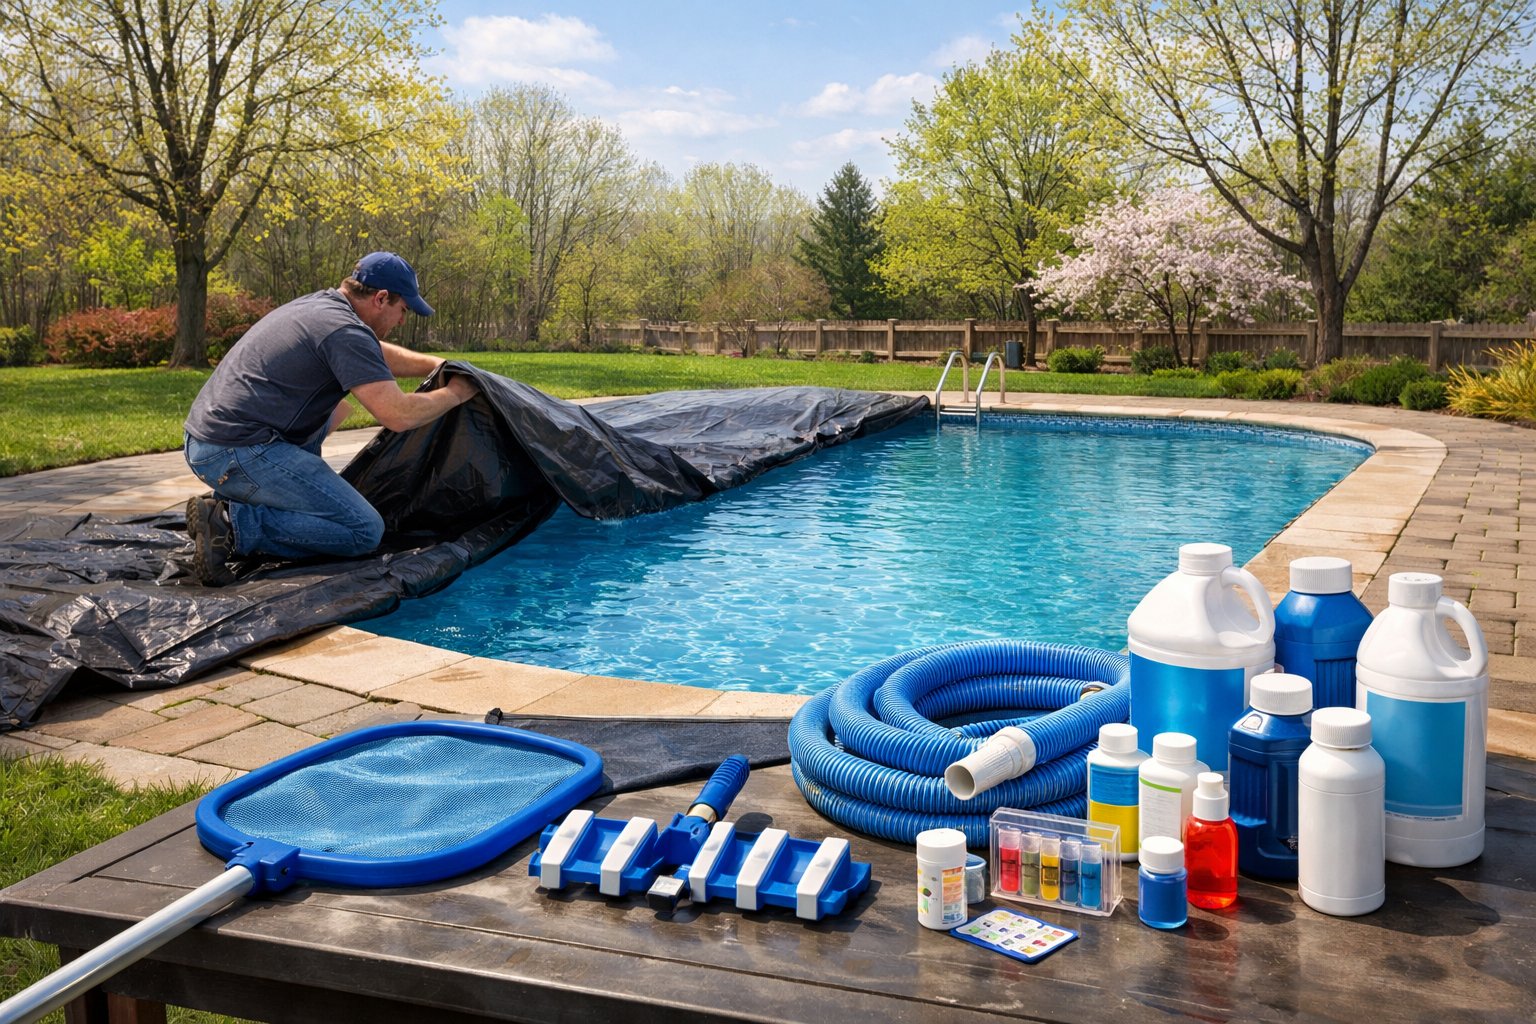
Getting a good seal isn’t rocket science, but it does take some prep, the right tools, and a little patience. We’ve learned that quality products and following a solid process make all the difference.
Start with clean surfaces—no exceptions. Scrape away dirt, debris, and old sealant from the coping and deck joints.
Use a pressure washer or a stiff brush to knock out algae, calcium, and loose bits. Let everything dry before you start sealing.
What we check:
Sand down rough spots and fill gaps that are too wide. Most sealants work best on joints between 1/4 and 1/2 inch.
Tape the joint edges for clean lines. It keeps sealant off your finished surfaces.
Backer rods are your friend. These foam rods control how much sealant you use and stop it from sticking to three sides (which can make it fail).
Pick closed-cell rods—they don’t soak up water. Make them about 25% bigger than your joint for a snug fit.
You’ll need:
Push the backer rod in with a putty knife. Keep it about 1/4 inch below the surface for the right sealant thickness.
Some surfaces, especially porous ones, need primer. It helps the sealant stick.
Cut the sealant tube at a 45-degree angle to match your joint width. Start small—you can always cut bigger, but not smaller.
Squeeze the caulk gun steadily and move at a consistent pace. Keep the tip touching the joint so you don’t get air bubbles.
Tips from the field:
Smooth the joint right away with a plastic tool or your finger (just wet it first). This shapes the seal for water runoff and takes off extra.
We like silicone-based products for flexibility and durability. They just handle the expansion, contraction, and water better than most alternatives.
We always pull masking tape right after tooling, while the sealant’s still workable. If you wait too long, you might end up pulling off cured material and creating rough edges—nobody wants that.
Keep those sealed areas dry for at least the first 24 hours. Most products hit full strength in about 7 days, assuming the weather’s normal.
Curing factors:
Try to avoid using your pool during that first curing period. If water hits the seal before a proper skin forms, the seal just won’t hold up.
After the initial cure, we like to test the work by running water along the joints. If you spot water pooling or seeping in instead of running off, that’s a red flag.
A handful of top manufacturers have rolled out advanced sealing solutions that really push durability and performance. Newer sealants focus on eco-friendly formulas but still deliver the pro-grade waterproofing you expect.
Dow Chemical Company leads the way in pool sealing with its DOWSIL™ line. These silicone-based sealants grab onto concrete, stone, and tile—pretty much anything you’d find around an inground pool.
DOWSIL™ 791 is a weatherproof sealant made for swimming pools. It shrugs off chlorine and UV rays better than the old-school caulks.
Their structural glazing sealants work great for glass tile around pool edges. We love how they flex with temperature swings but still keep everything watertight.
Key DOWSIL™ Features:
Modern pool sealants use hybrid polymers that blend silicone’s flexibility with polyurethane’s strength. These new formulas cure faster and just last longer.
Self-leveling sealants are getting popular for expansion joints. They flow into cracks and settle themselves, so you don’t have to mess with smoothing them out.
Underwater curing products like Maxisil Pool let you make repairs without draining your inground pool. That saves time, water, and honestly, a lot of frustration.
Recent Innovations Include:
Water-based sealants are edging out solvent-based ones. Less environmental impact, fewer nasty fumes, and still waterproof.
Some brands are working recycled content into their sealants—sometimes up to 30% recycled polymer. It doesn’t seem to hurt performance at all.
We’re seeing bio-based ingredients, too. Plant-sourced materials offer a real alternative to petroleum-based chemicals, and they hold up surprisingly well.
Eco-Friendly Features:
High-performance additives stretch product life well past 25 years, even in tough pool environments. UV stabilizers keep the color sharp and the material intact, even under relentless sun.
Pool owners hit us up all the time about material choices, maintenance timing, and how to actually apply sealant right. Weather and surface prep matter a lot more than people realize.
Polyurethane sealants are our go-to for flexibility and durability around inground pools. They can handle all the movement and shifting that happens.
Silicone-based sealants shine in sunny spots. They don’t break down from UV or pool chemicals.
Polysulfide sealants stick to concrete and stone like glue. They keep the seal even when the deck shifts a little.
The surface material really decides the best sealant. Natural stone, concrete, and tile all need different approaches.
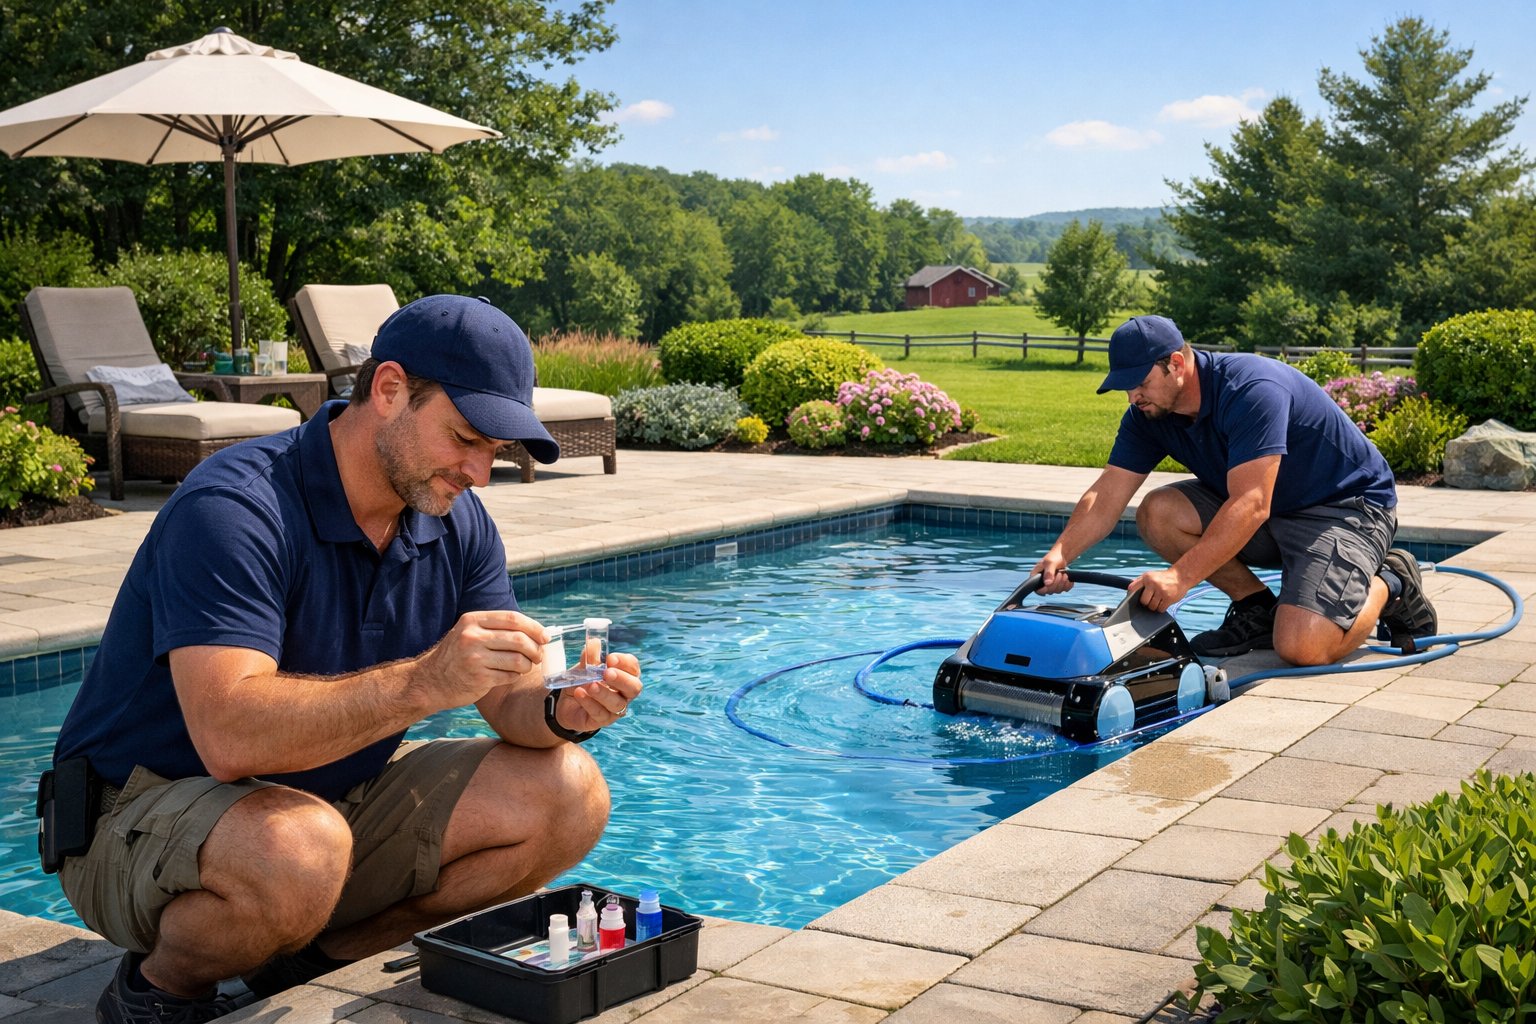
We recommend checking your pool’s perimeter sealant every month for cracks or damage. Catching issues early beats dealing with water damage later.
Most sealants last anywhere from 1 to 10 years, depending on what you use and how rough the conditions get. High-end polyurethane usually outlasts the cheap stuff.
If your pool faces wild weather swings, expect to reseal more often. Chemical-heavy pools also chew through sealant faster, so keep an eye out.
Make sure the joint’s totally clean and bone dry before you start. Scrape out all the old sealant.
Power washing helps blast away debris and loose bits. Let the area dry for at least 24 hours before moving on.
Check the joint’s width and depth. If it’s too shallow, the new sealant won’t stick right.
Some surfaces need a primer for good bonding. Always check the manufacturer’s instructions on that.
Temperature’s a big deal—most sealants work best between 40 and 85°F. Too cold or too hot, and things get tricky.
Humidity drags out curing time and can mess with the final result. High humidity? Be patient.
Rain’s a dealbreaker. Only seal when it’s dry and there’s no rain in the forecast for at least a day or two.
Direct sunlight can make sealant skin over too fast. We try to work in the cooler parts of the day.
Cracks mean the sealant lost its flexibility. Water sneaks in and can mess with your pool’s foundation.
If you see gaps between the sealant and pool surfaces, that’s adhesion failure. Water’s going to find its way in.
Discoloration or a chalky look usually means UV has started breaking the sealant down. Time for a replacement.
Loose or peeling pieces? That’s a total failure. Fix those spots fast to avoid bigger headaches.
At Dolphin Pool Services, we know surface prep matters more than anything else. If you want a strong bond, start by cleaning the area thoroughly.
If the manufacturer says so, use the right primer. Primer gives sealant a better grip, especially on smooth or non-porous spots.
Apply the sealant when the temperature’s right and don’t go too thick or too thin. Honestly, just stick to the manufacturer’s guidelines—they’re there for a reason.
When you tool the sealant, make sure it touches both surfaces. You don’t want air bubbles sneaking in and ruining your hard work.